
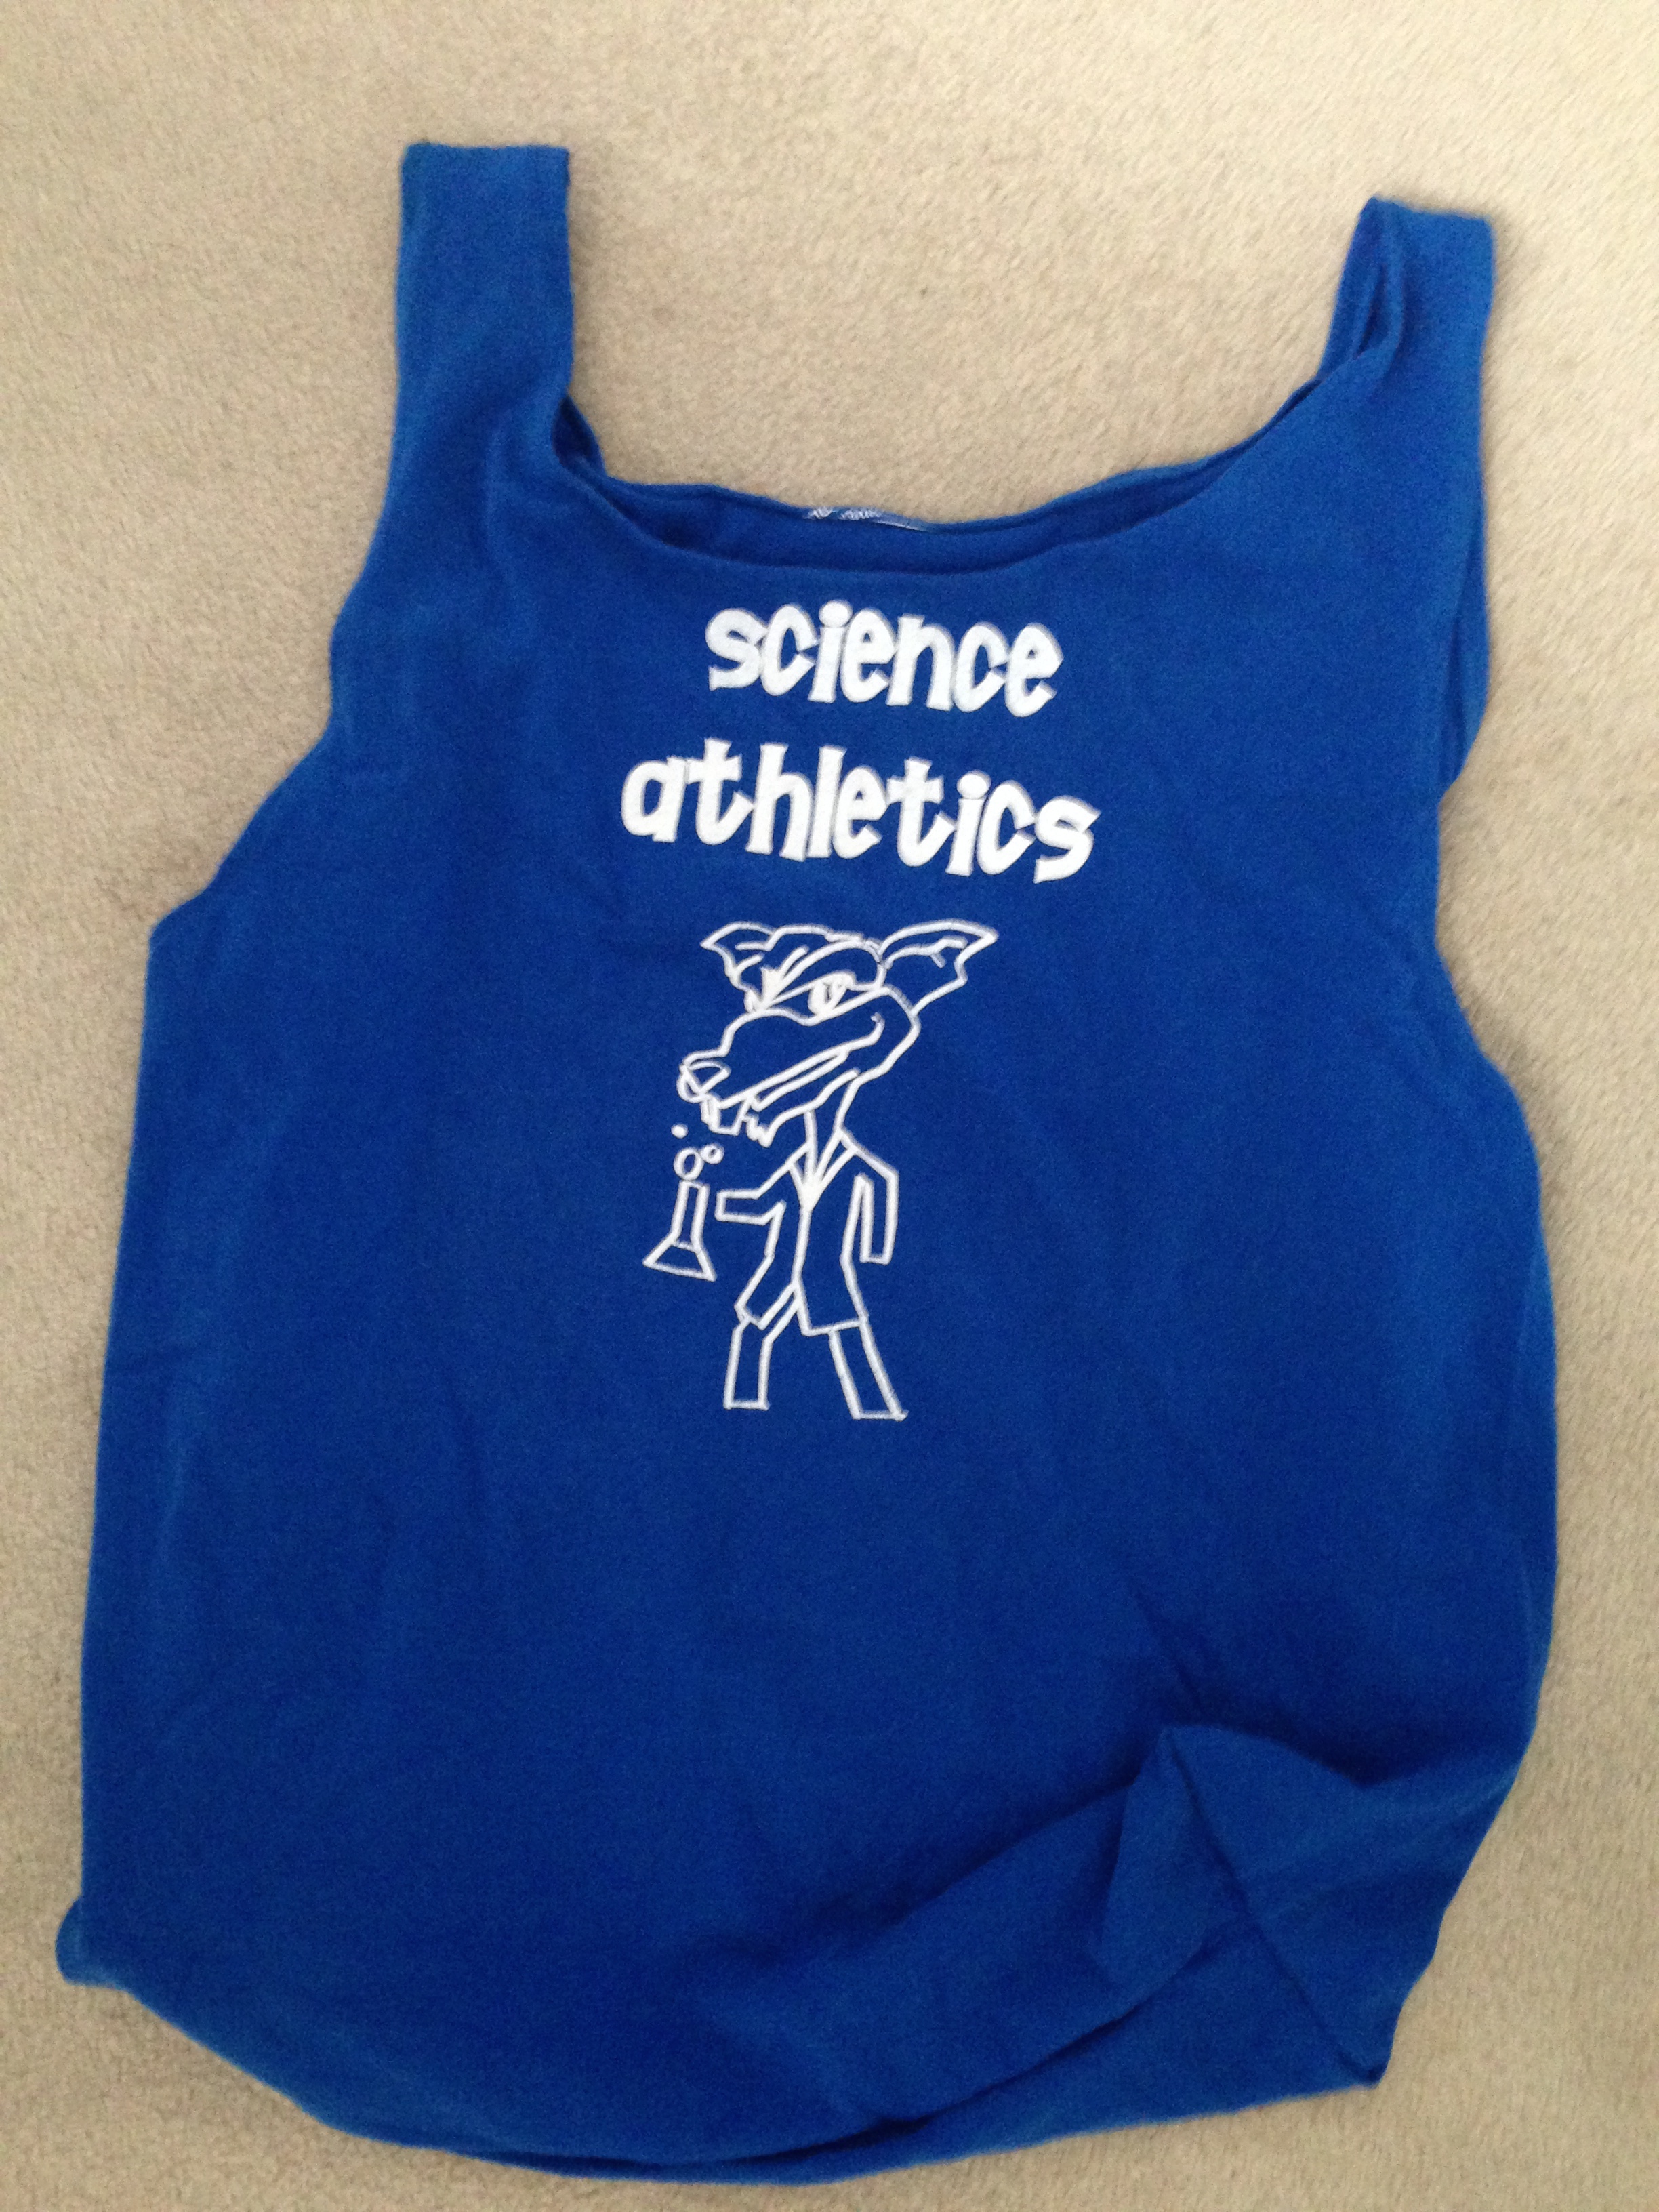
My grade 5 Teacher, Ms. R made these t-shirt bags in February 2015. She followed the instructions from this site and she said that the instructions were clear. Thanks for being our test subject…
You got an A+ !

My grade 5 Teacher, Ms. R made these t-shirt bags in February 2015. She followed the instructions from this site and she said that the instructions were clear. Thanks for being our test subject…
You got an A+ !
Xiuhtezcatl Martinez at the age of 14 years old is committed to “shifting human consciousness, because the planet doesn’t need saving, we do.”
Honour and give back to the Earth.
Sign his brother Itzcuauhtli’s pledge to be a climate leader. Let yours be one of the million signatures that will be delivered to world leaders at the Climate Paris Talks in December.
Visit their site.
The Role of Compassion in Activism video
Read the full article here by Vanessa Black.
Hip-Hop Environmental Activism: Xiuhtezcatl Martinez at TEDxYouth@MileHigh
Read this article by Natasha Scripture “Should You Stop Eating Fish?” based on this TED talk with Sylvia Earle.

Foam Free Future is a student led-project created by the students at Maui Huliau, concerned about the environmental impact single use plastics is having on their island. Check out their website to read more about expanded polystyrene and single use plastics. They offer a comprehensive outline of eco-friendly alternatives.
You will read about what inspired their project in the first place.
These amazing and caring students want to encourage business owners to become a Foam Free Business. Most consumers really do want to do the right thing. Shouldn’t businesses think like individuals too, and provide the best choice for their clientele and the planet? And don’t you think businesses should do it because they are run by humans and not because the government has made a policy to do so?
Visit their Eco-Friendly Alternatives page too.
Bruce Lipton sums it up. “Water is primary to Life. Remove the water and life disappears. Let’s not mess with the web of life.”
#LoveWater on World Water Day
Join us on March 22nd, World Water Day, as we #LoveWater. Find more info at http://www.unify.org on the telesummit, live webcast, and synchronized meditation.
Watch this video. I came across it on Twitter via Plastic Free Tuesday who said: “Great video! #PlasticPollution in a nutshell. ‘It’s a Plastic World‘.”
What do you think about this? Makes us feel that recycling should be our last resort, so we try to avoid making purchasing products that require recycling.
When possible, we try to avoid buying new things and try our best to reuse what we have or buy previously used items or share with others in an attempt to reduce waste. It’s not easy, especially when we have formed habits around living a certain way. But just like exercising our bodies, changing our ways is a good exercise to practice 🙂
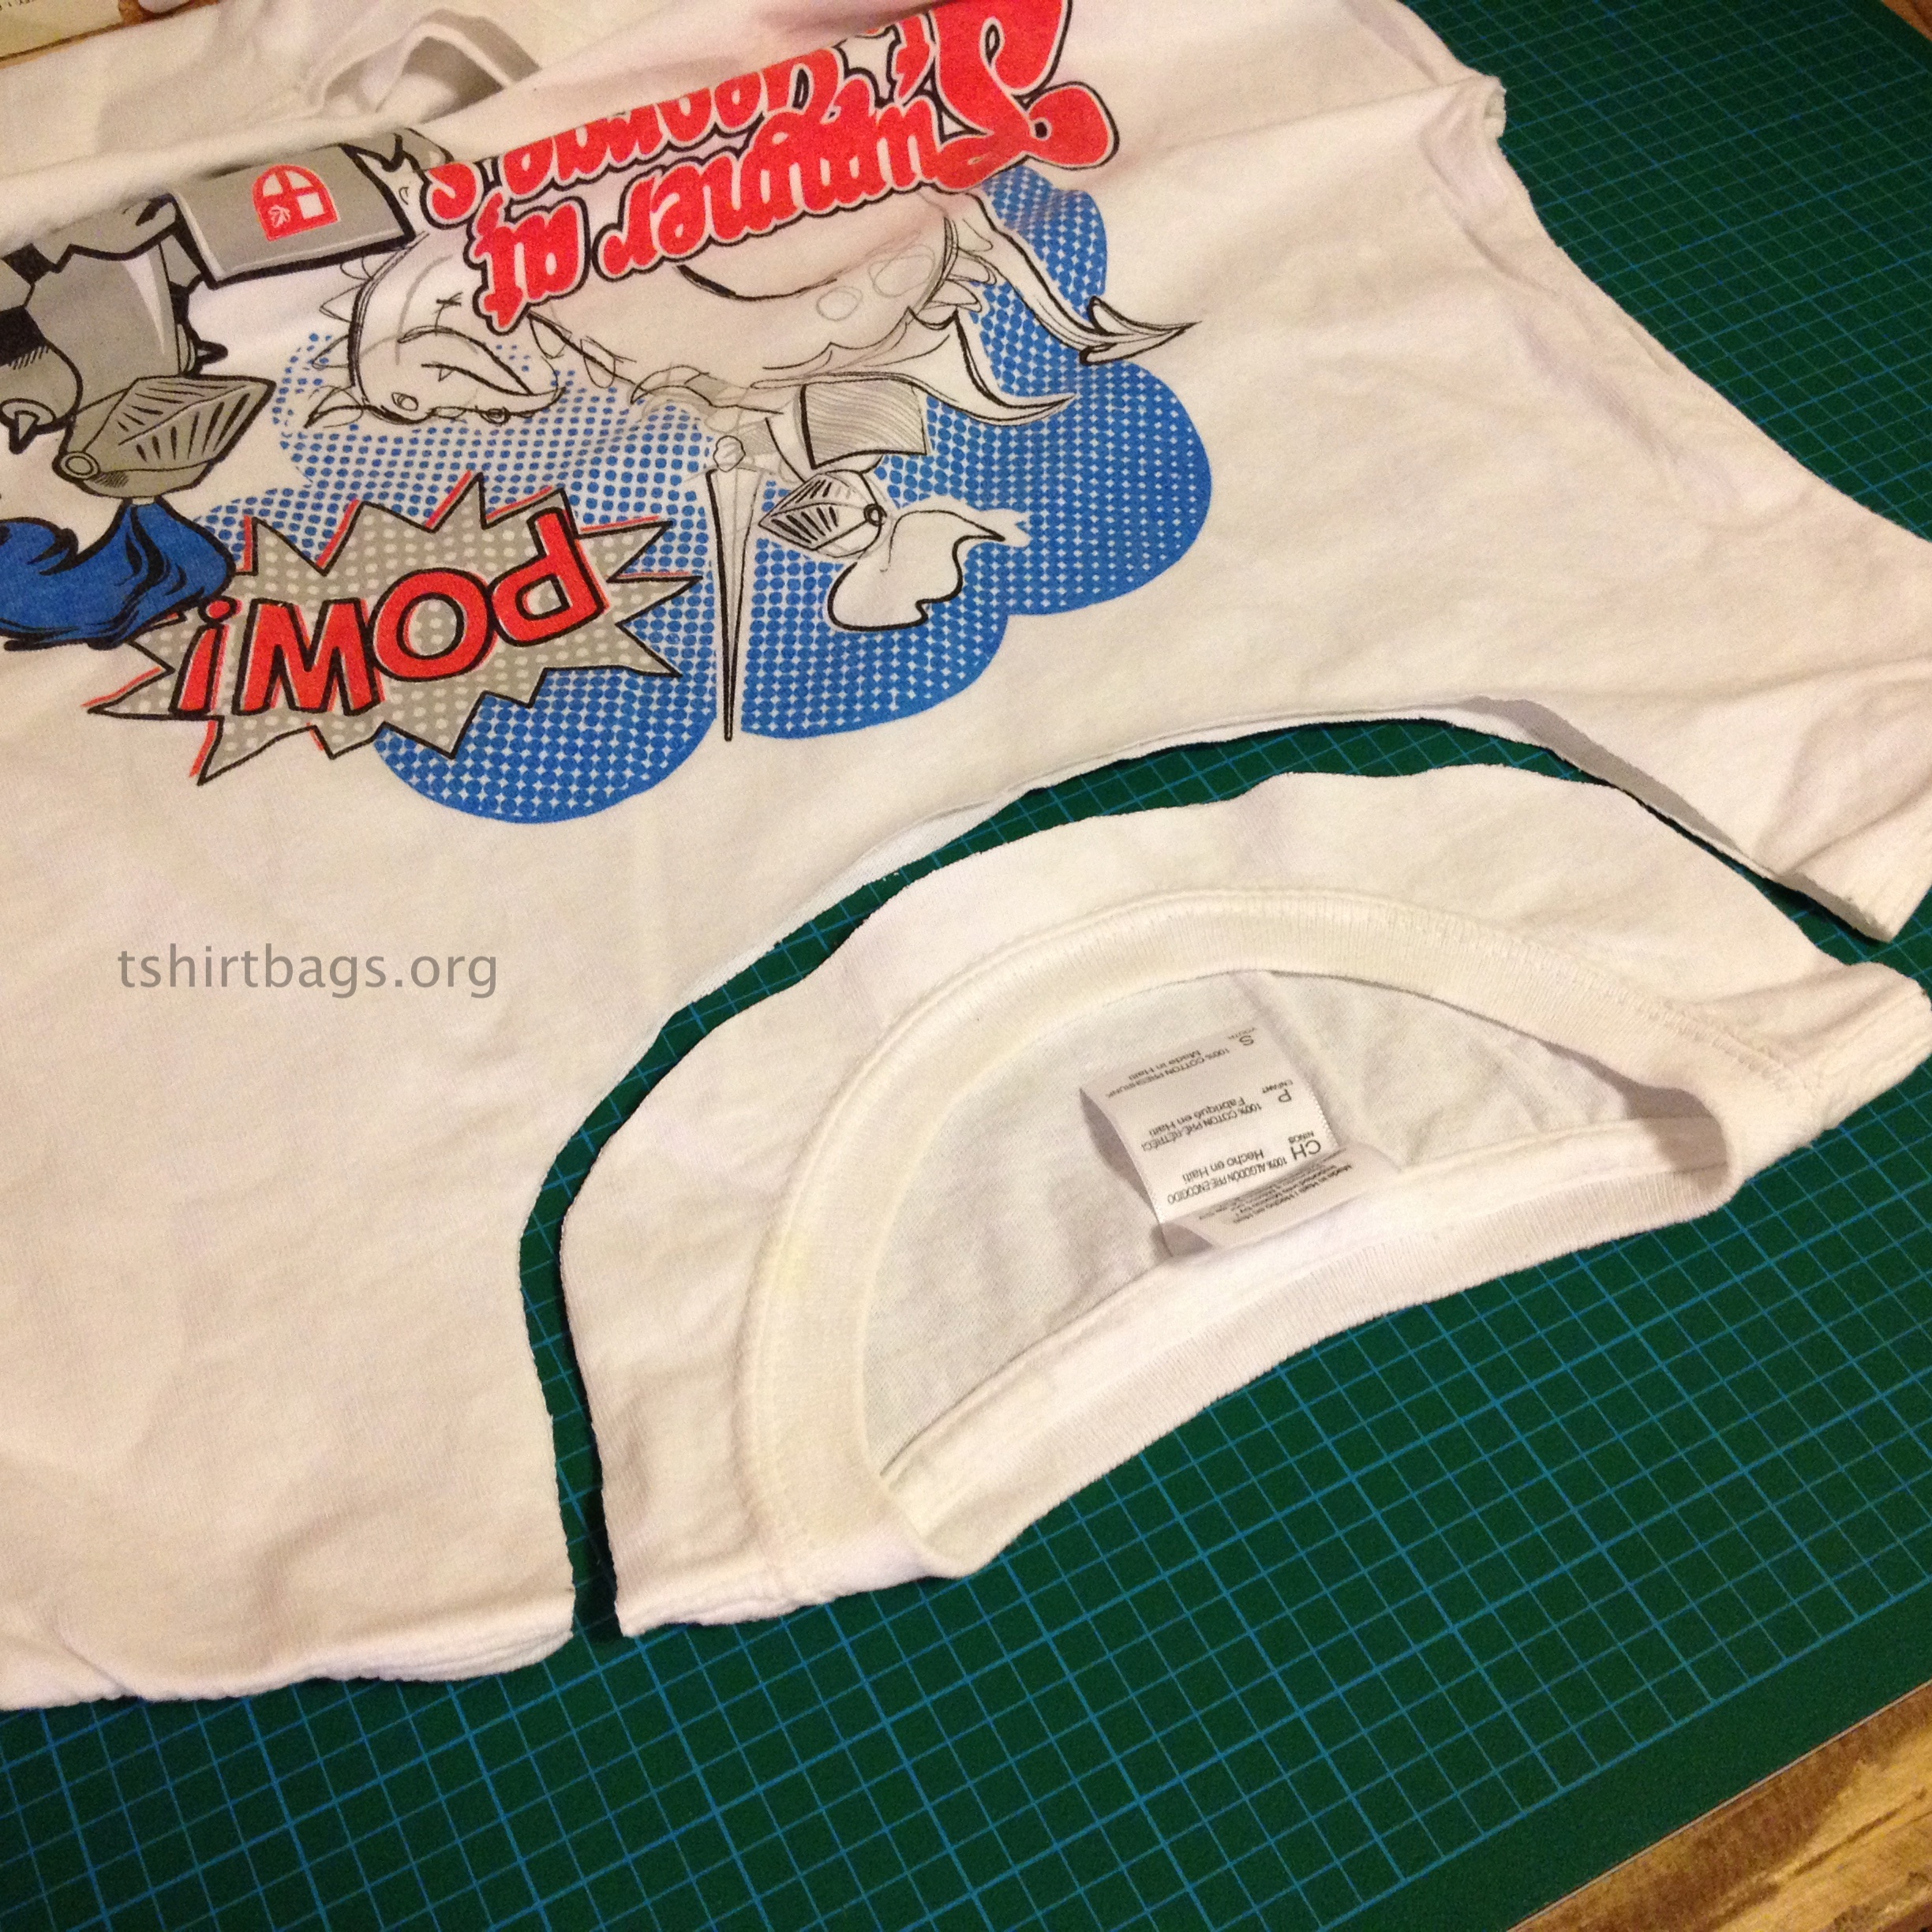
Here are some photos that will help you to prepare your t-shirt for transforming into a bag.

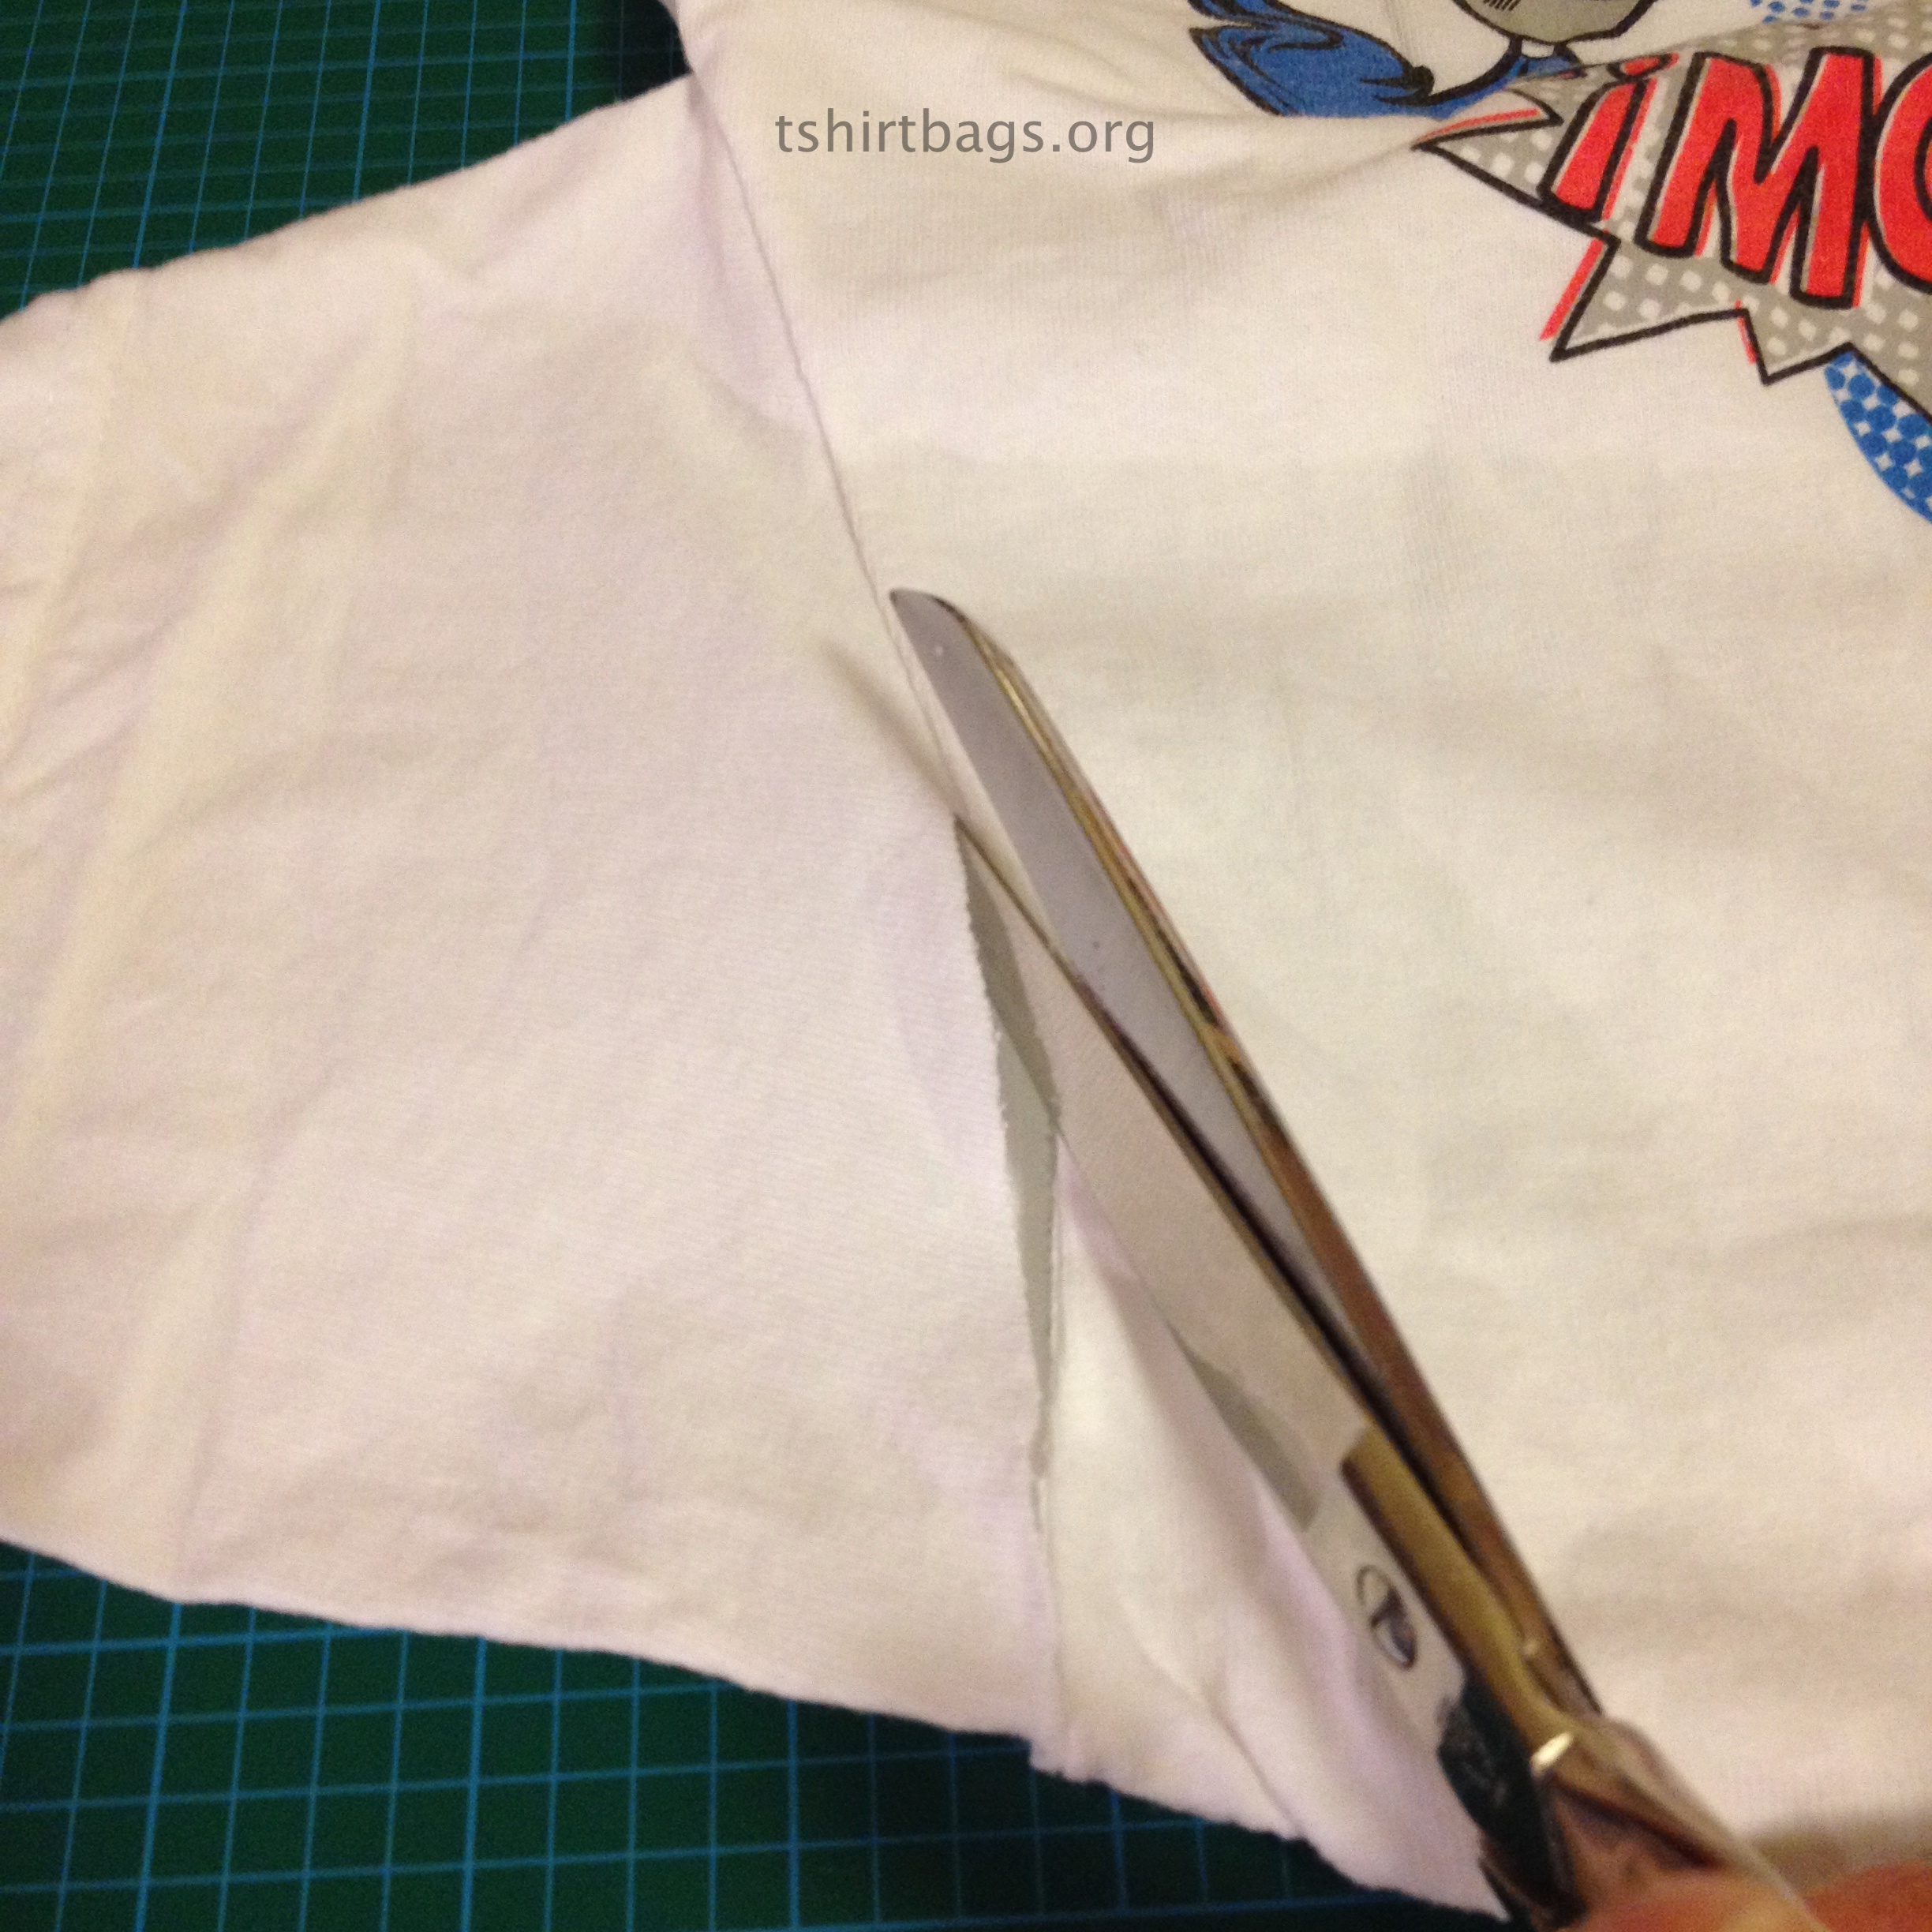
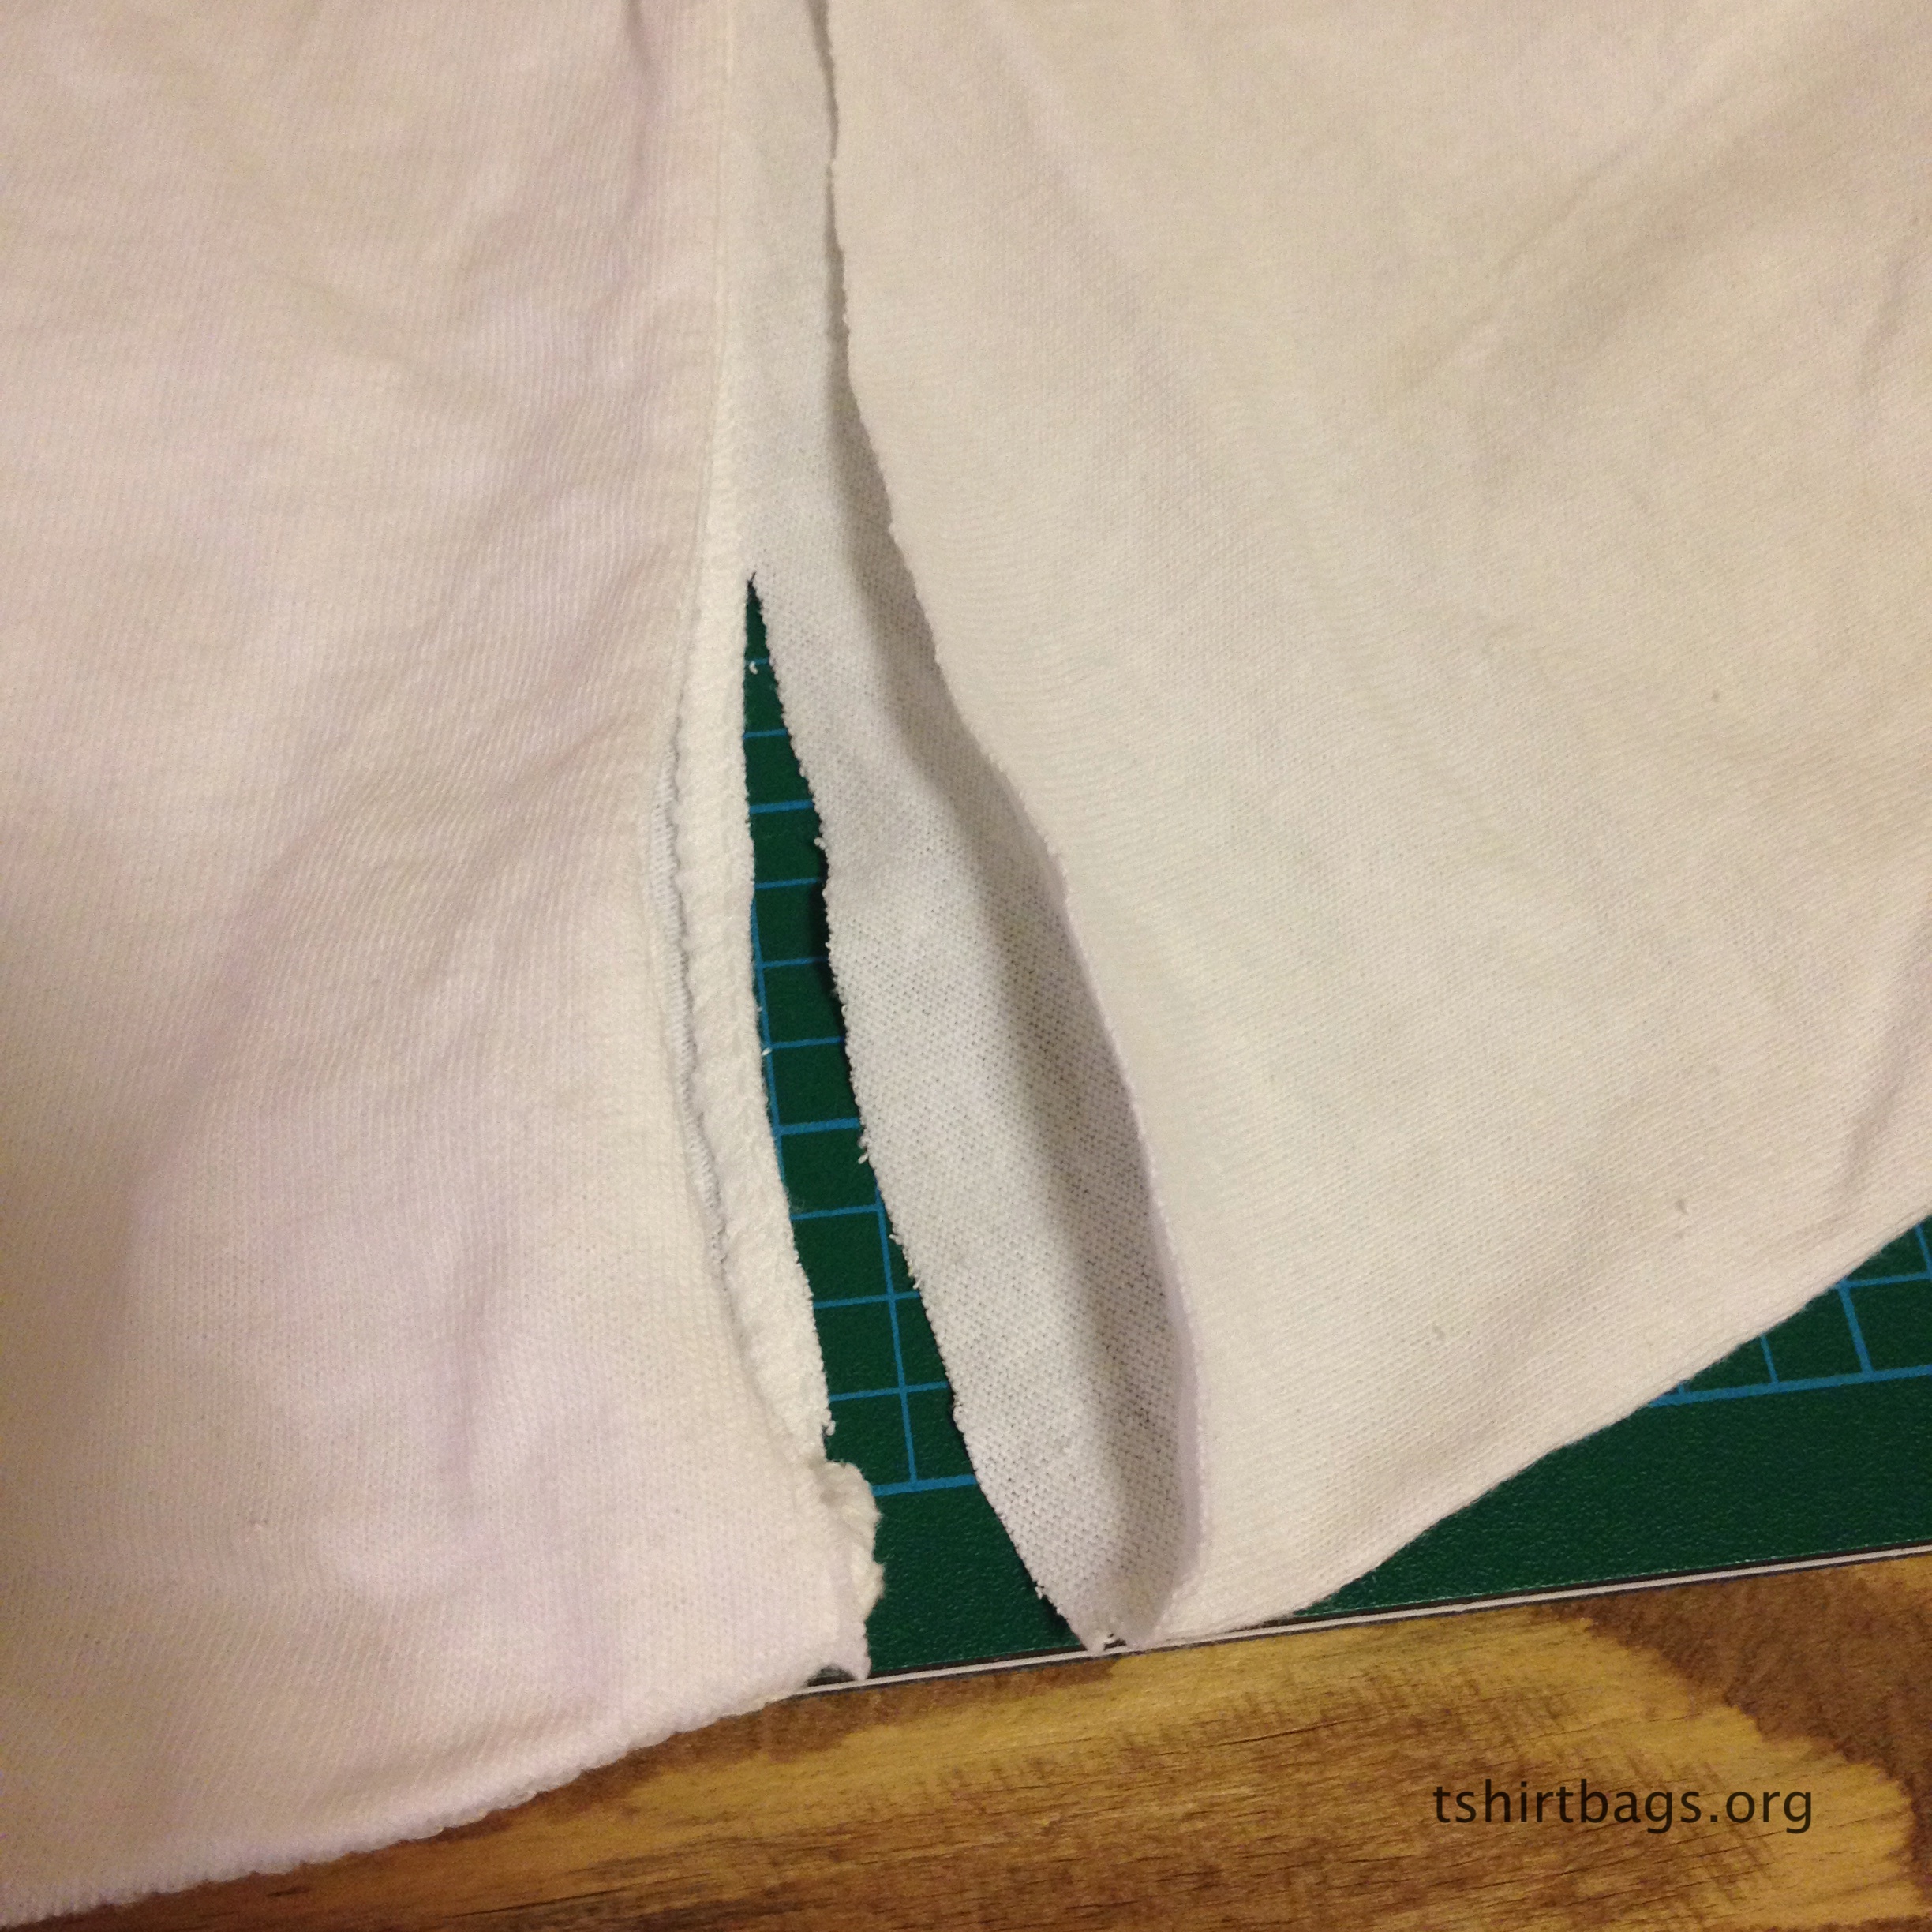

Notice that the seam is still in tact after cutting the sleeve from the body of the shirt.


How to make your own bag out of a t-shirt. You will need:
Read ALL instruction first before cutting. This project takes approximately 30 minutes not including cutting/prep time.
Step 1 Choose a t-shirt that is made from a thick cotton material. If your t-shirt is worn and thinning, but you love it and really want to use it then consider taking the time to make a lining for it. That way it will be more sturdy. This tutorial will only show how to make an unlined t-shirt bag.
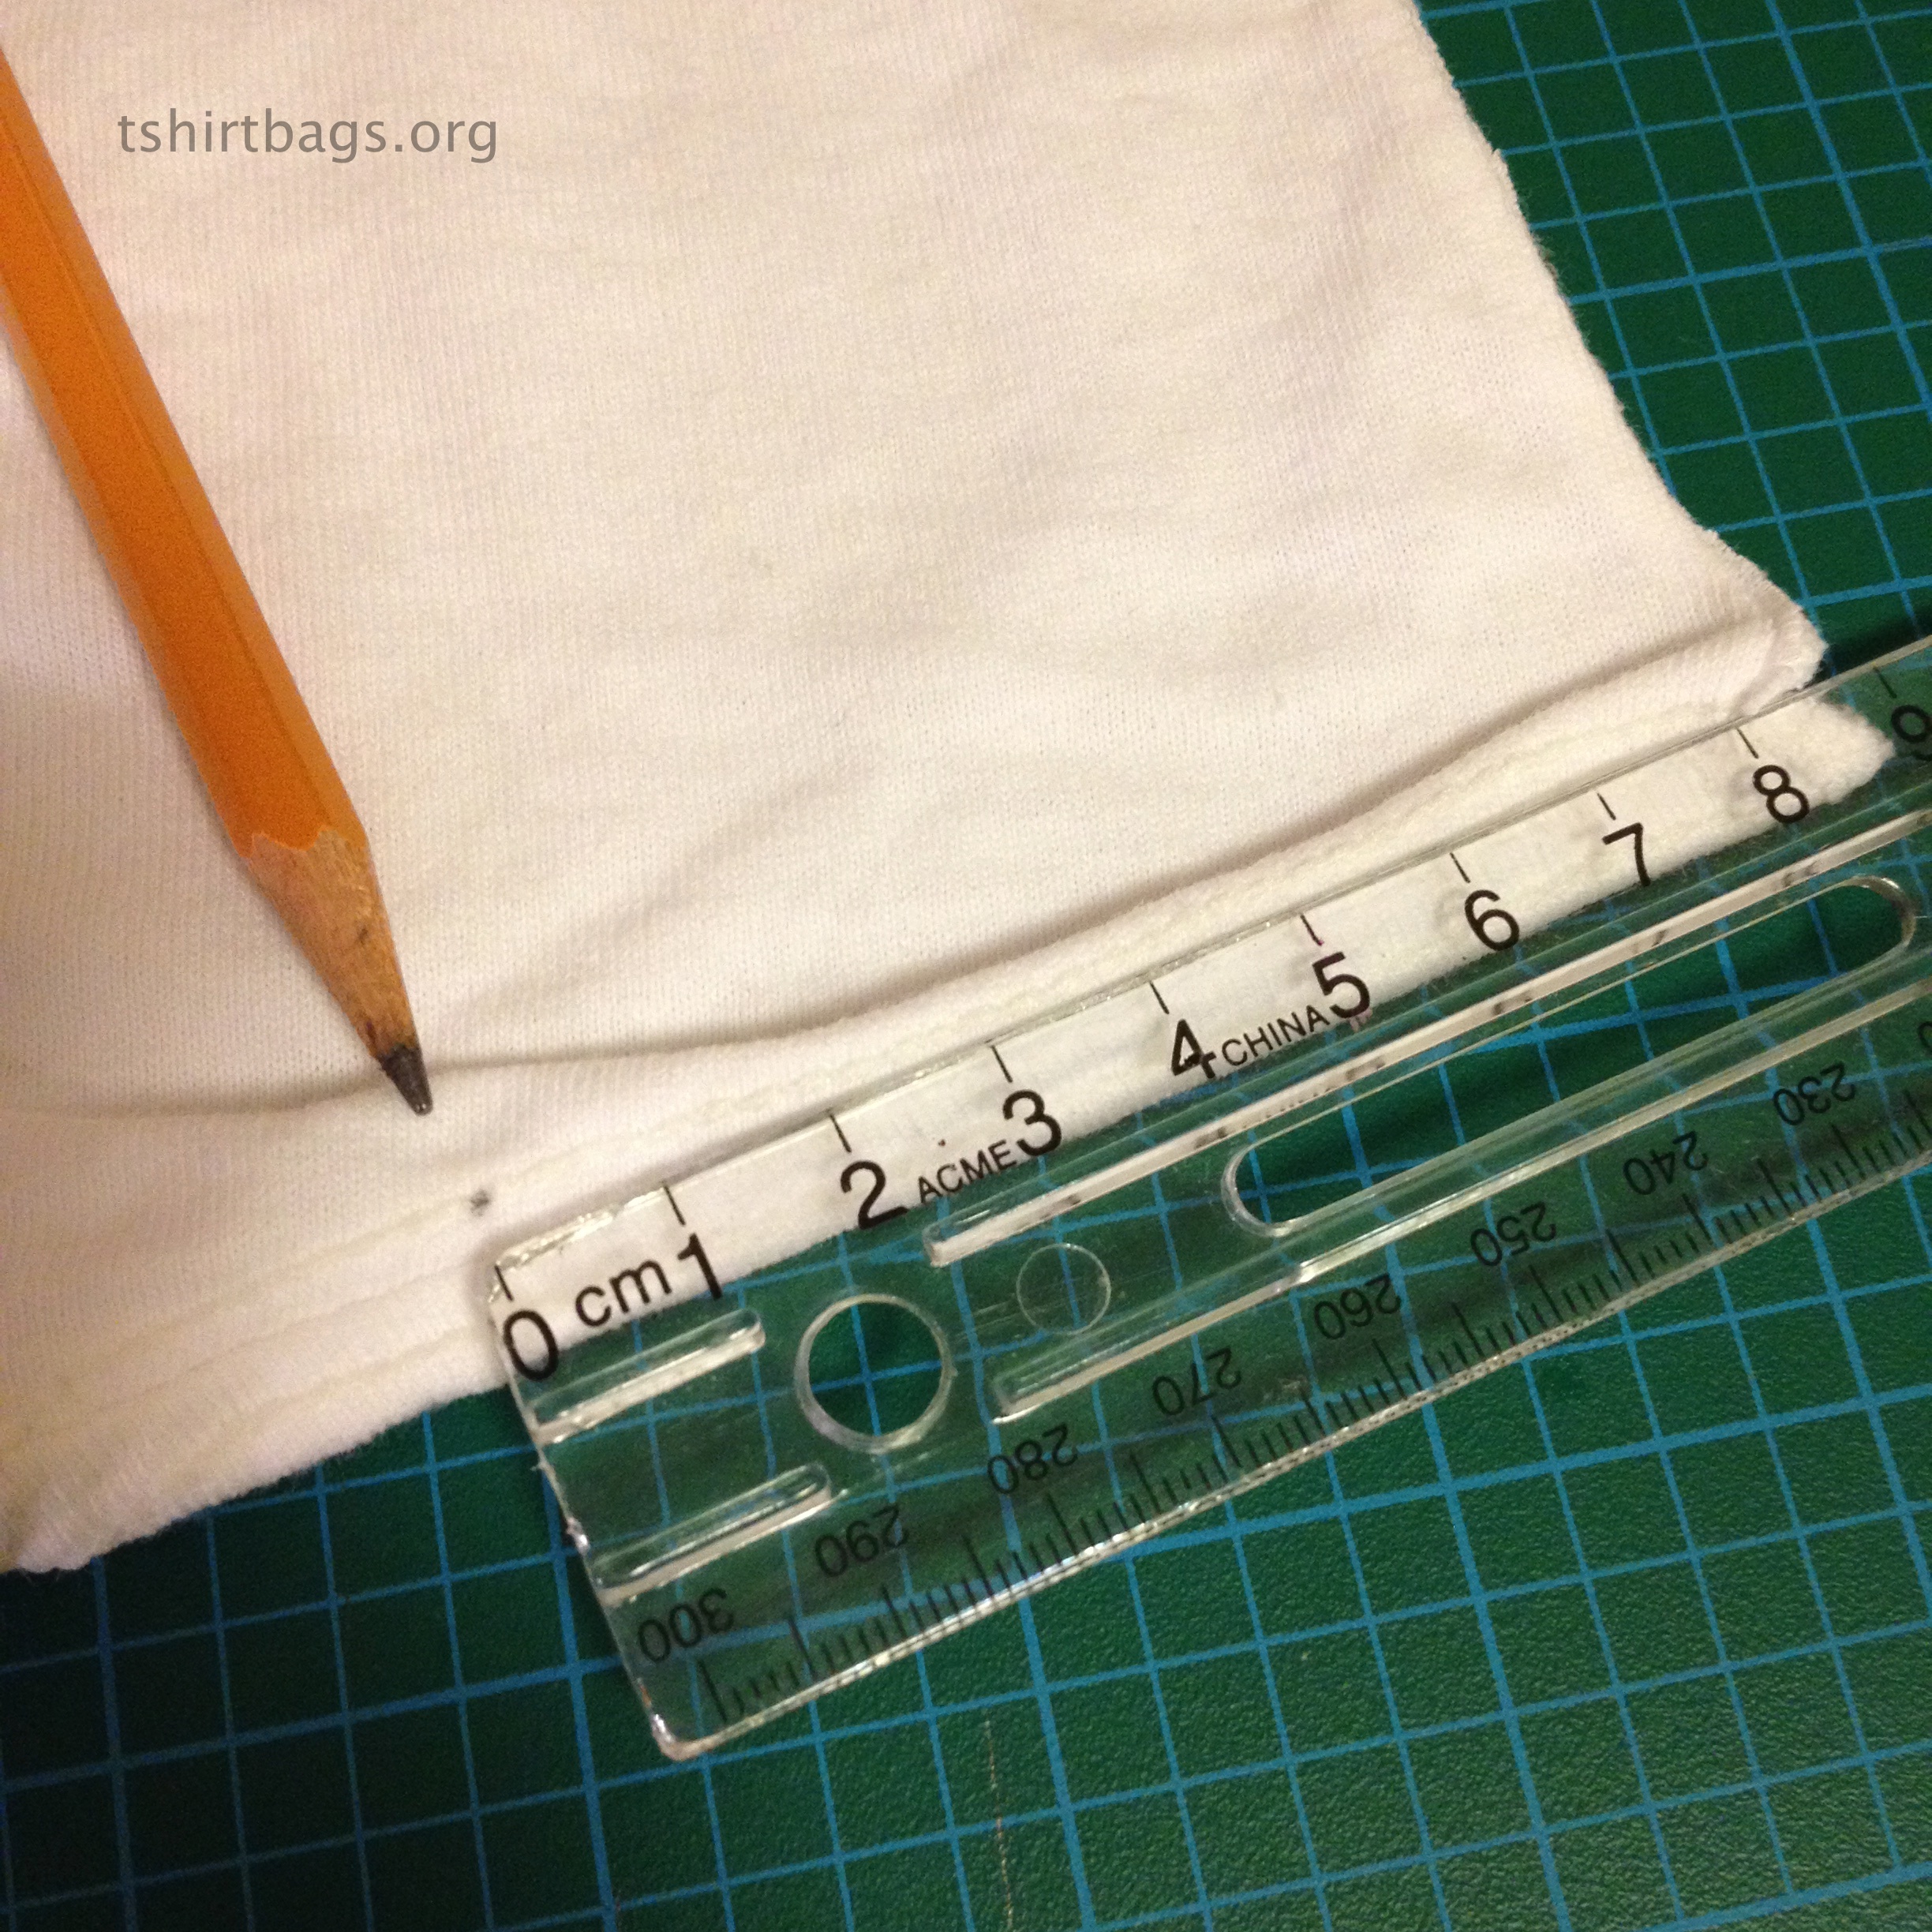
Step 2 Before you cut the neck measure 8cm from shoulder seam to where you will be cutting the neck. This will ensure that you have enough material to fold twice to sew your hem (later in Step 6). Cut away the neck and sleeves; now the t-shirt resembles a tank top!
Then cut a square of fabric away at the bottom corners of the t-shirt. (see photo) I measured 5cm x 5cm. When you open the fabric it will of course be a rectangle. Set it aside and save it for Step 4 part D.

Step 3 !!! Turn the t-shirt inside out before you start sewing!!! Sew the bottom of the t-shirt. Notice where I place the foot of the machine so that the needle will sew just above the first horizontal seam. This way when the bag is turned outwards one seam stitch will still show, which looks nice. This leaves about an inch of material on both sides of the bottom seam to give the bag a little more support (see Step 4C).
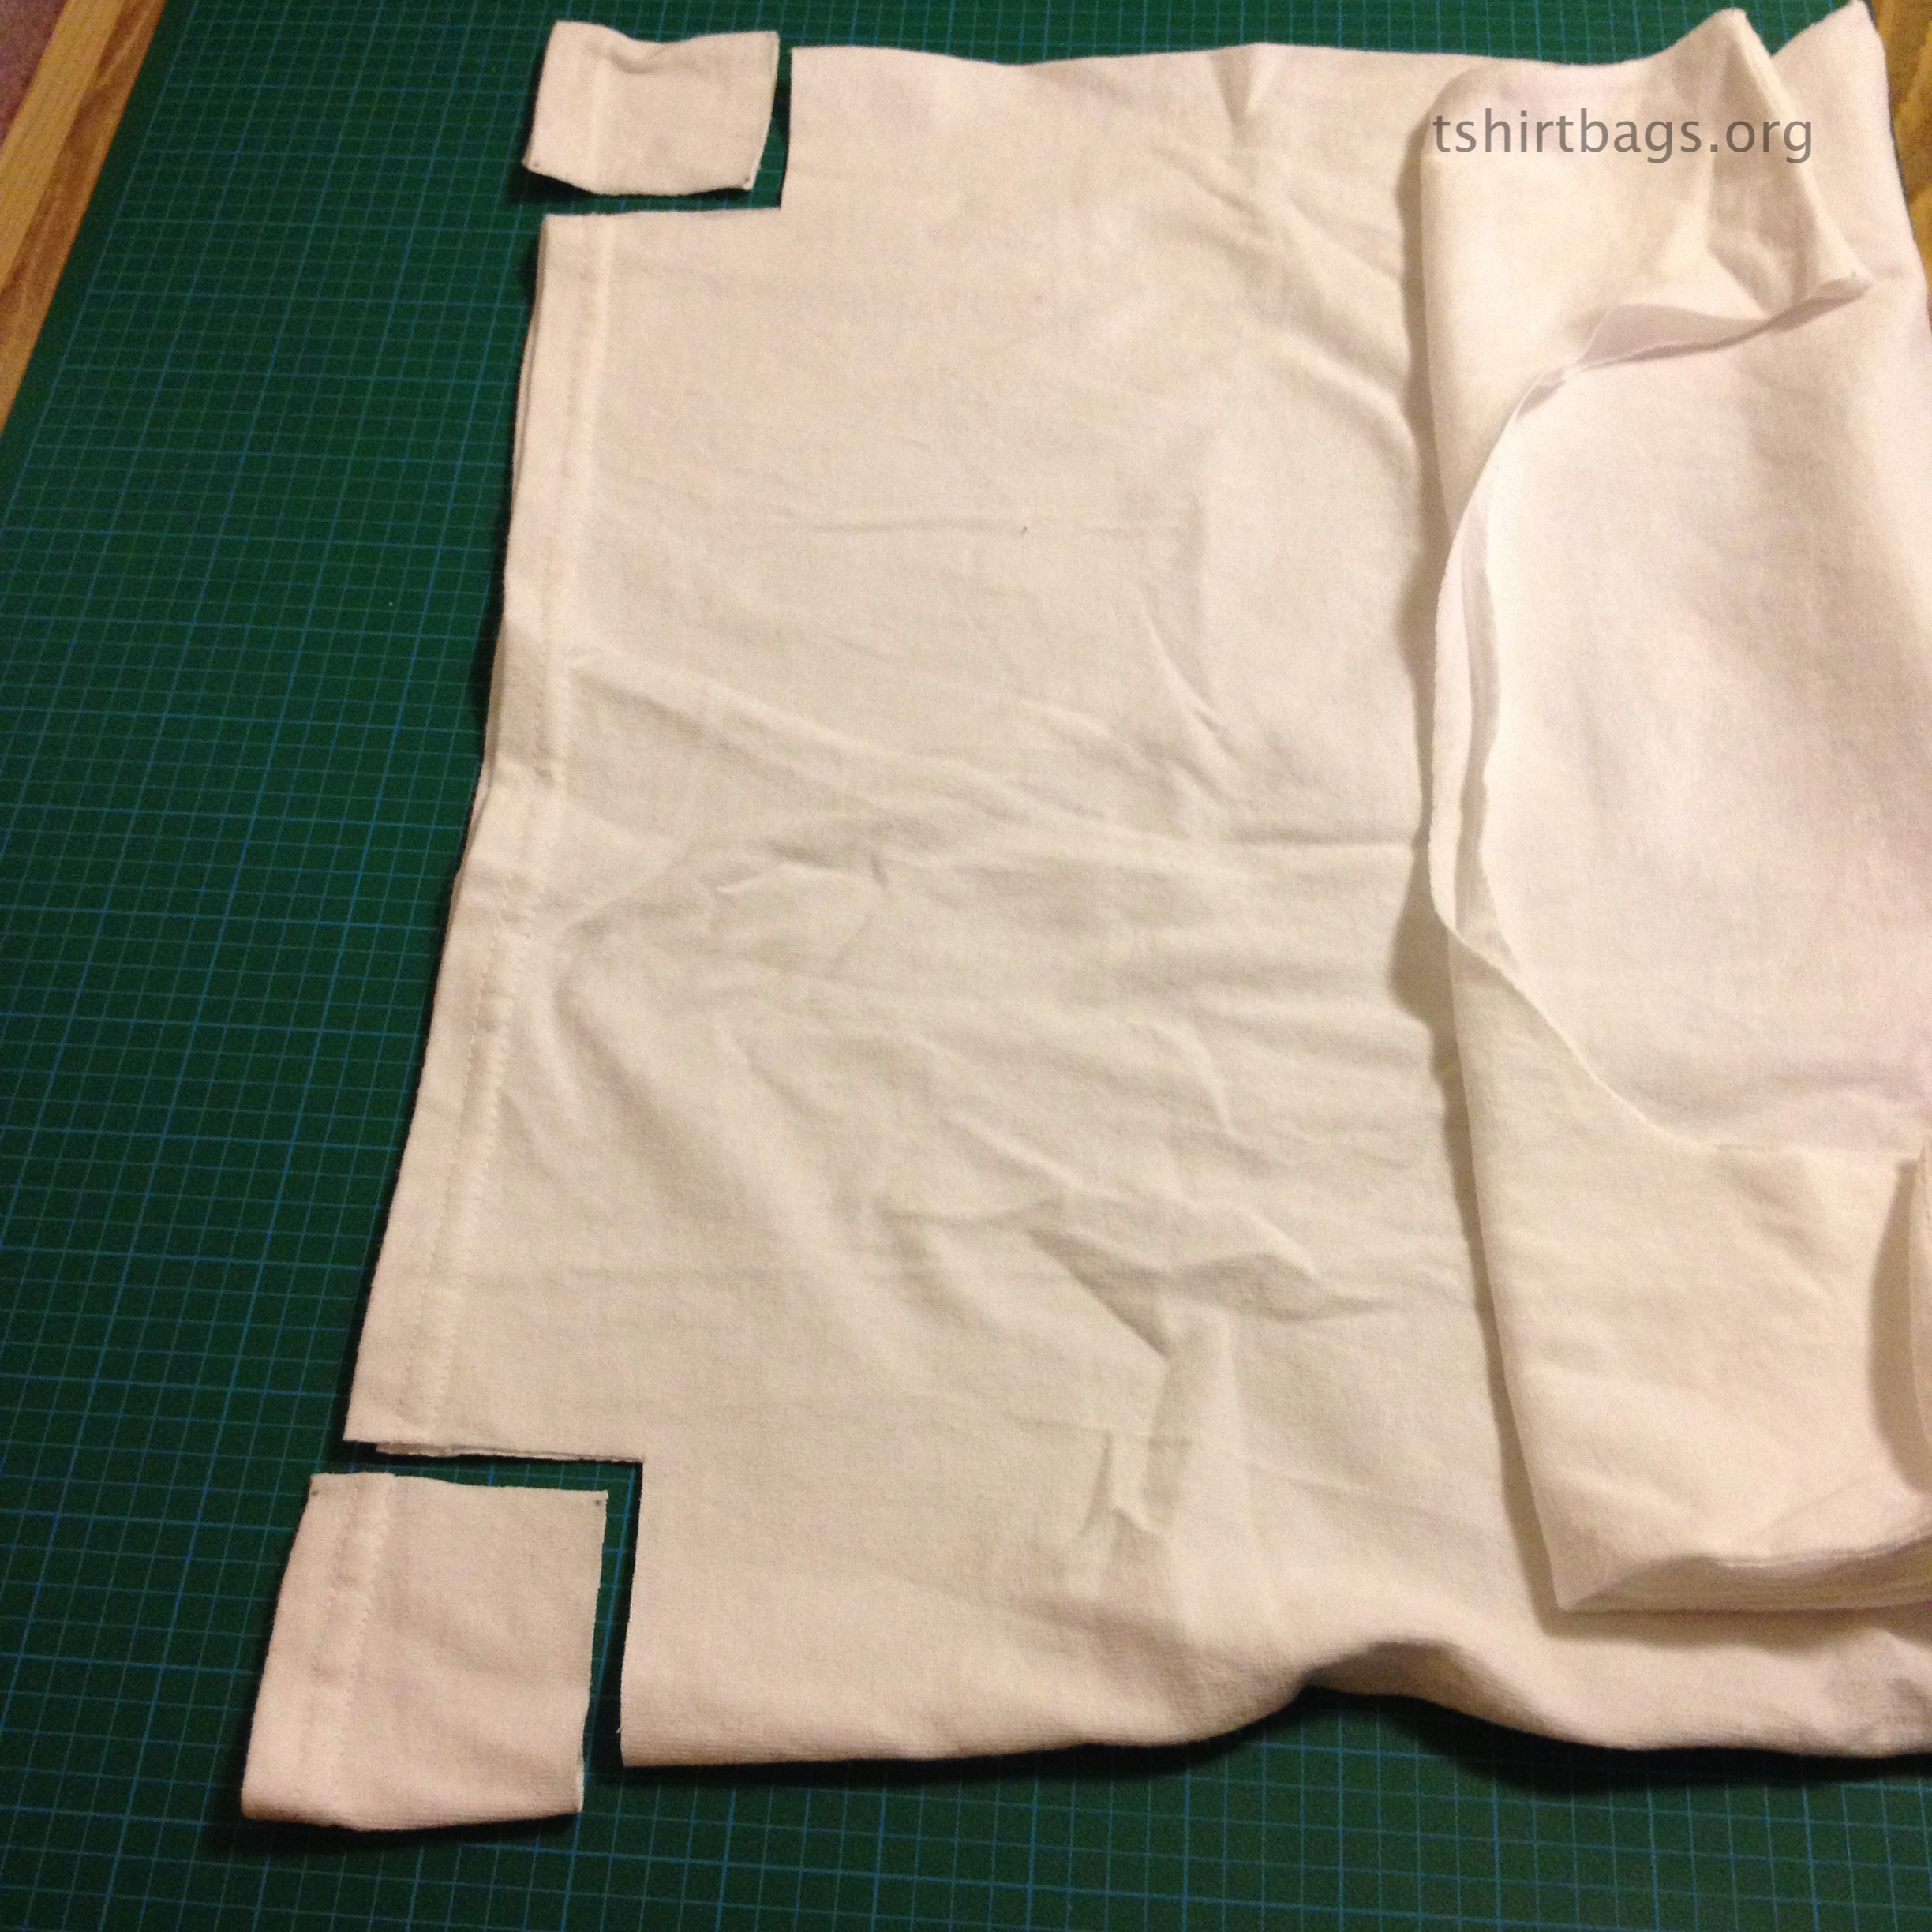
Step 4 Now it is time to sew the gusset. A) This is what the bottom of the bag looks like at the end of Step 3. (see photo below)

B) Now you need to open and lay flat from where you cut the corner squares out. (see photo below)
B) 
C) Open and flatten the stitches you made in Step 3 (like this: see photo below).
C) 
D) Open and line up the ‘square’ from step 2. You don’t need to do this part with the extra fabric, but I decided that if I was going to bother to make a bag out of a t-shirt, I would make it as durable as I could. So this extra piece of material is meant to act as a reinforcement for the gusset. If you choose not to use the extra material, then you would just sew across to close this opening.
D) 
E) Line up the extra material under the gusset opening like this. (see below)
F) Now fold over the material and try to sew it on far enough from the cut edges to ensure that the opening is securely stitched and will not break open when something heavy is put into the bag 🙂
E)  F)
F)
G) H)
H) 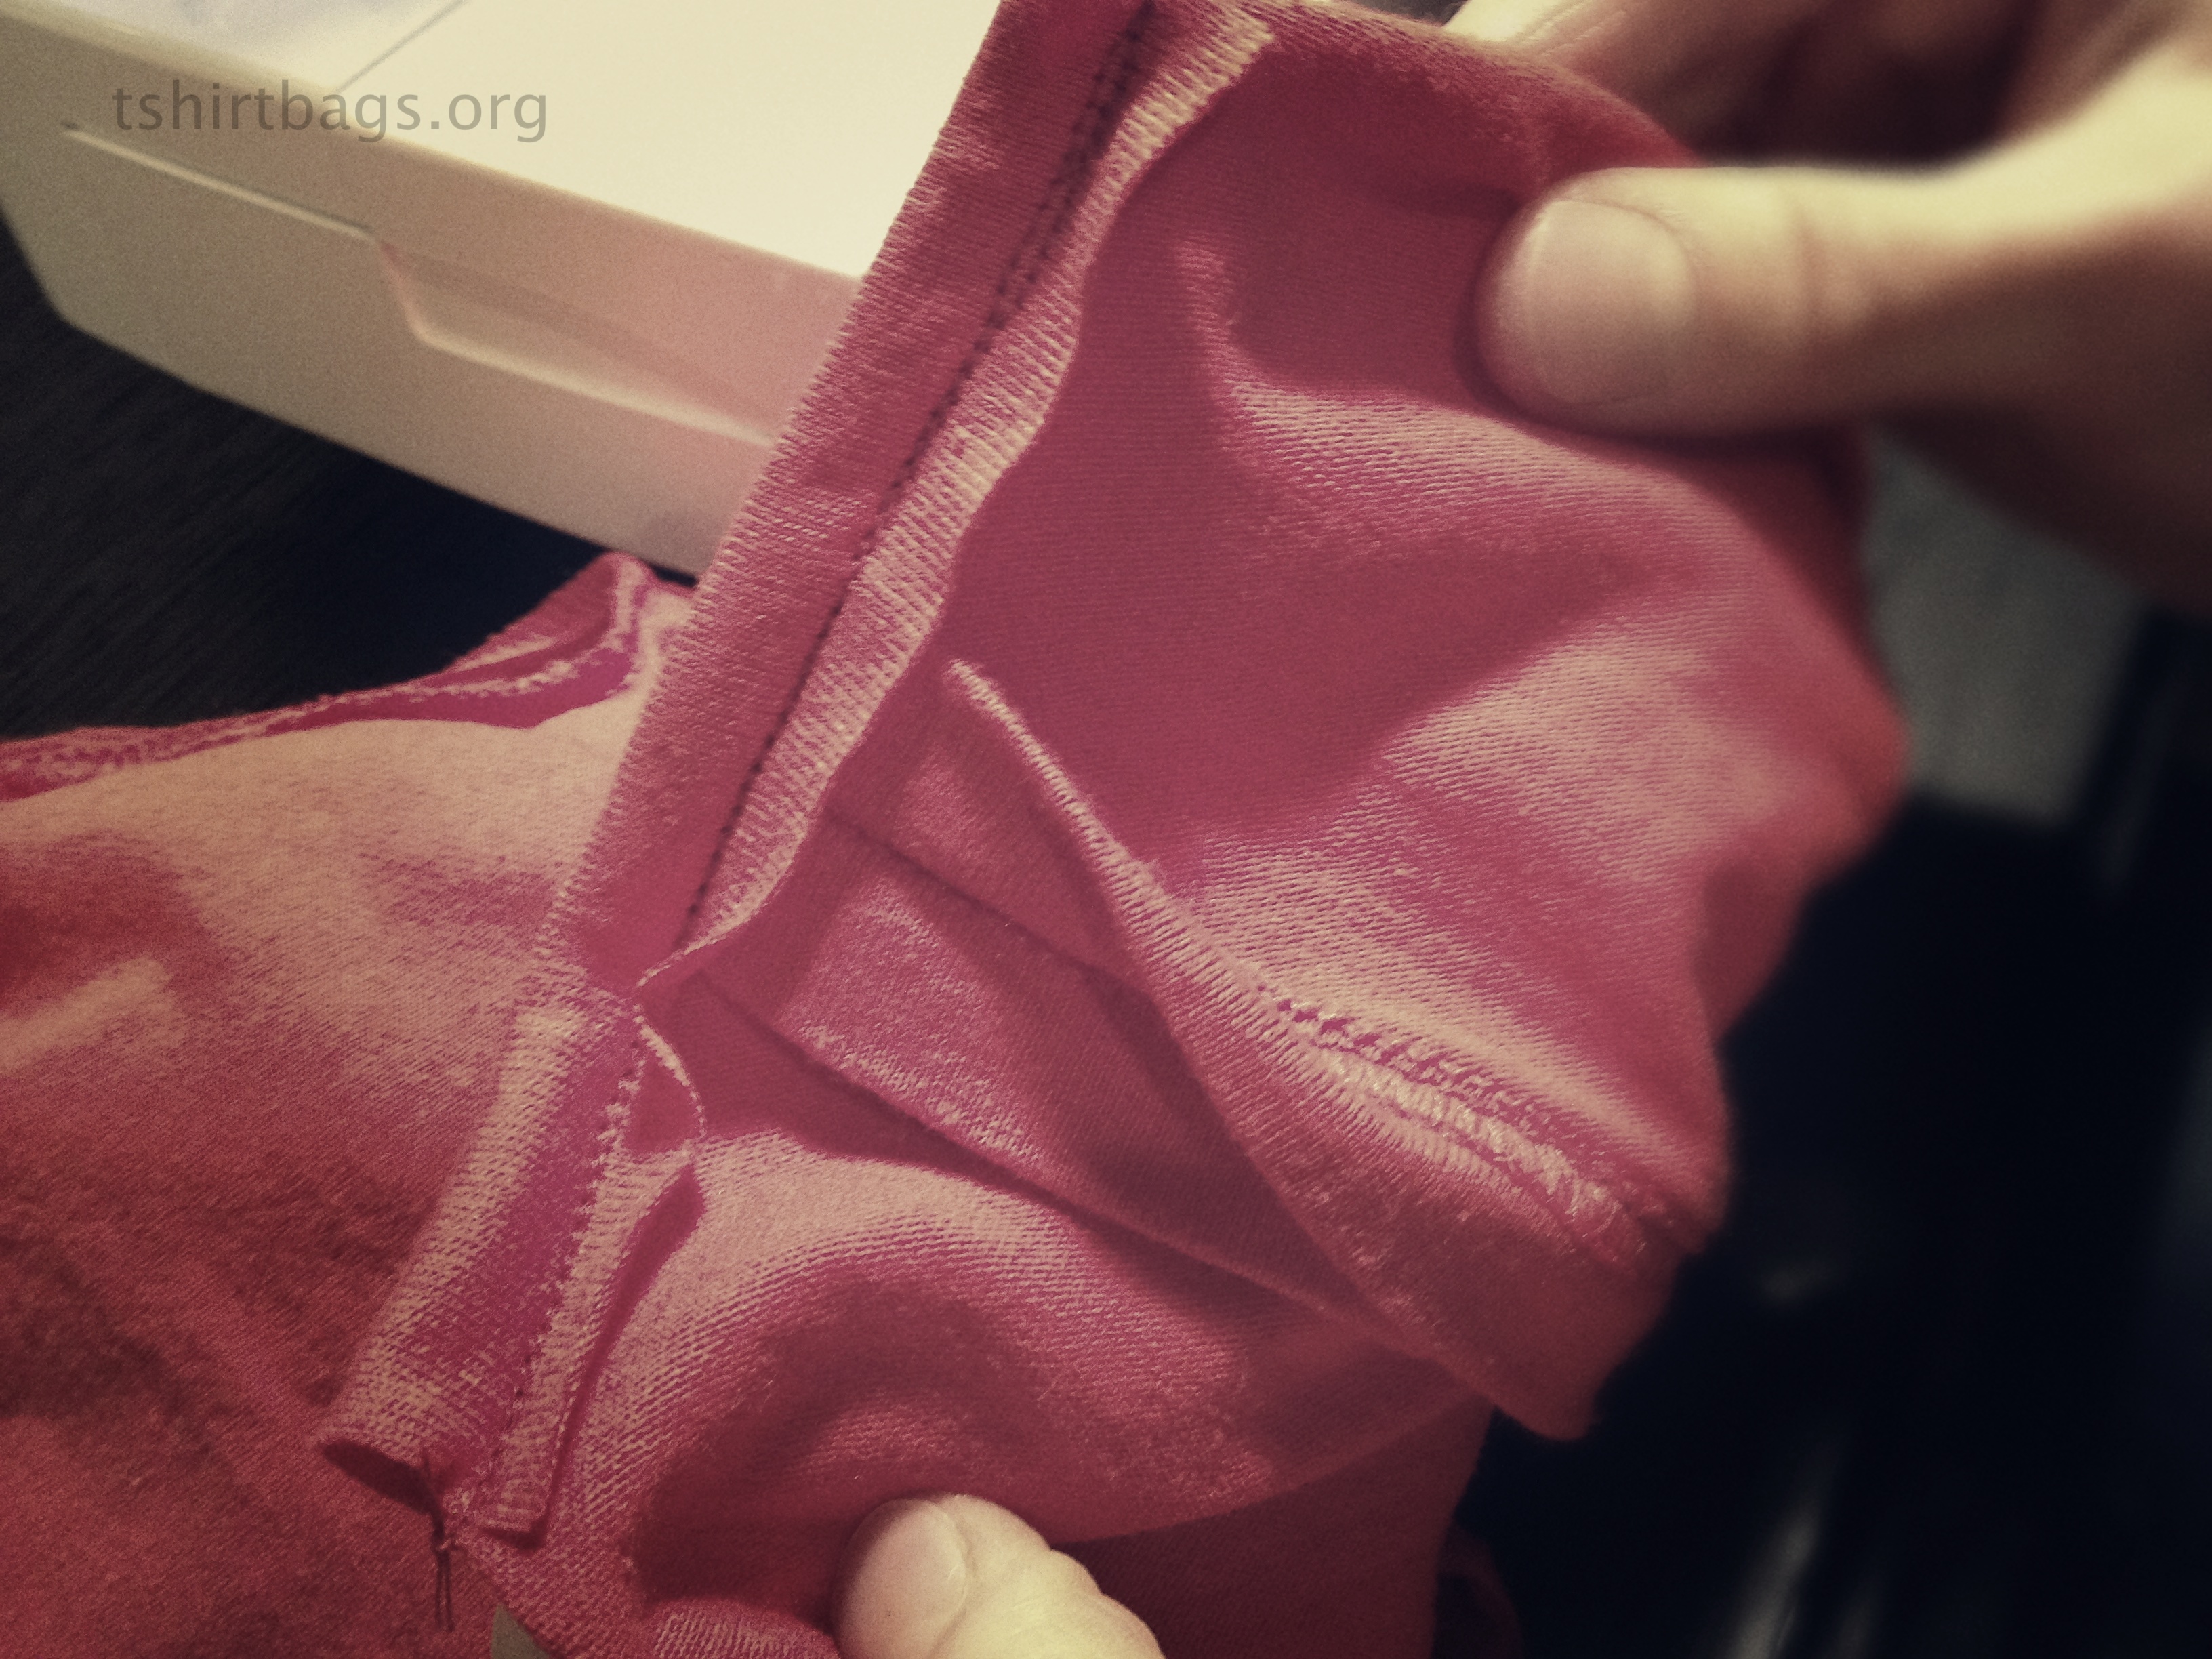
Congratulations! You have completed one side of the bottom of your bag. Repeat on the other side.
I) 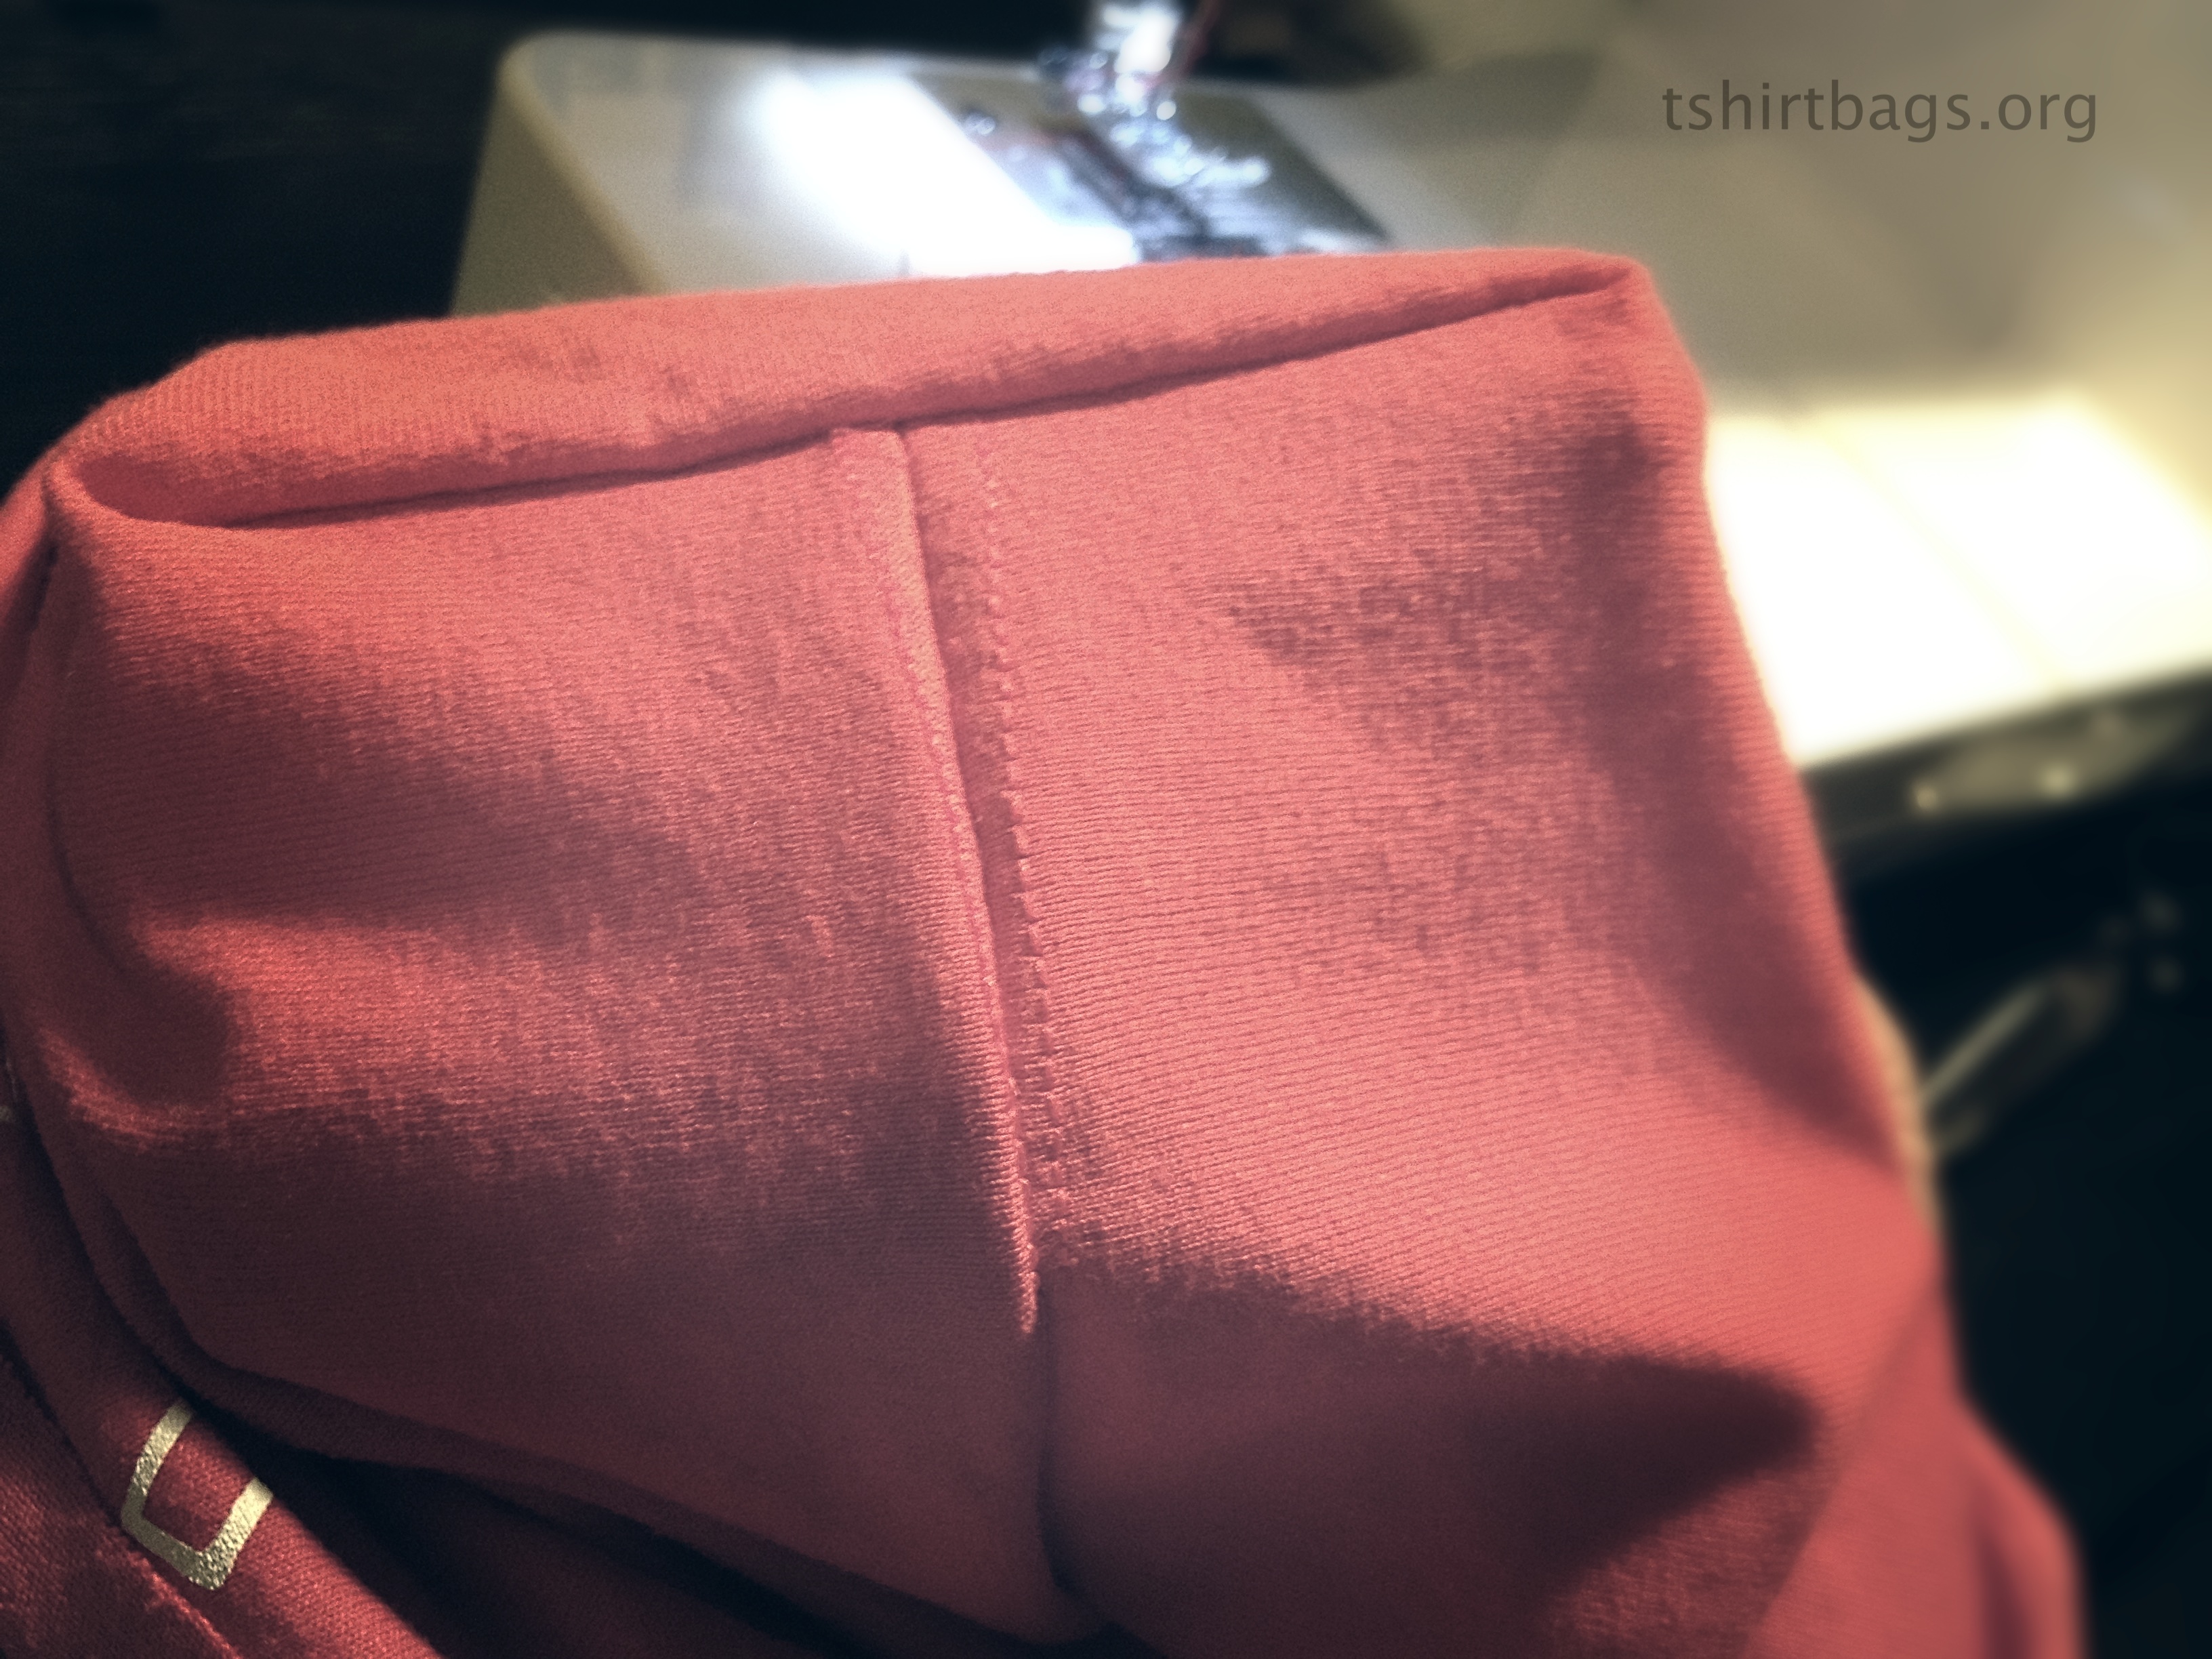
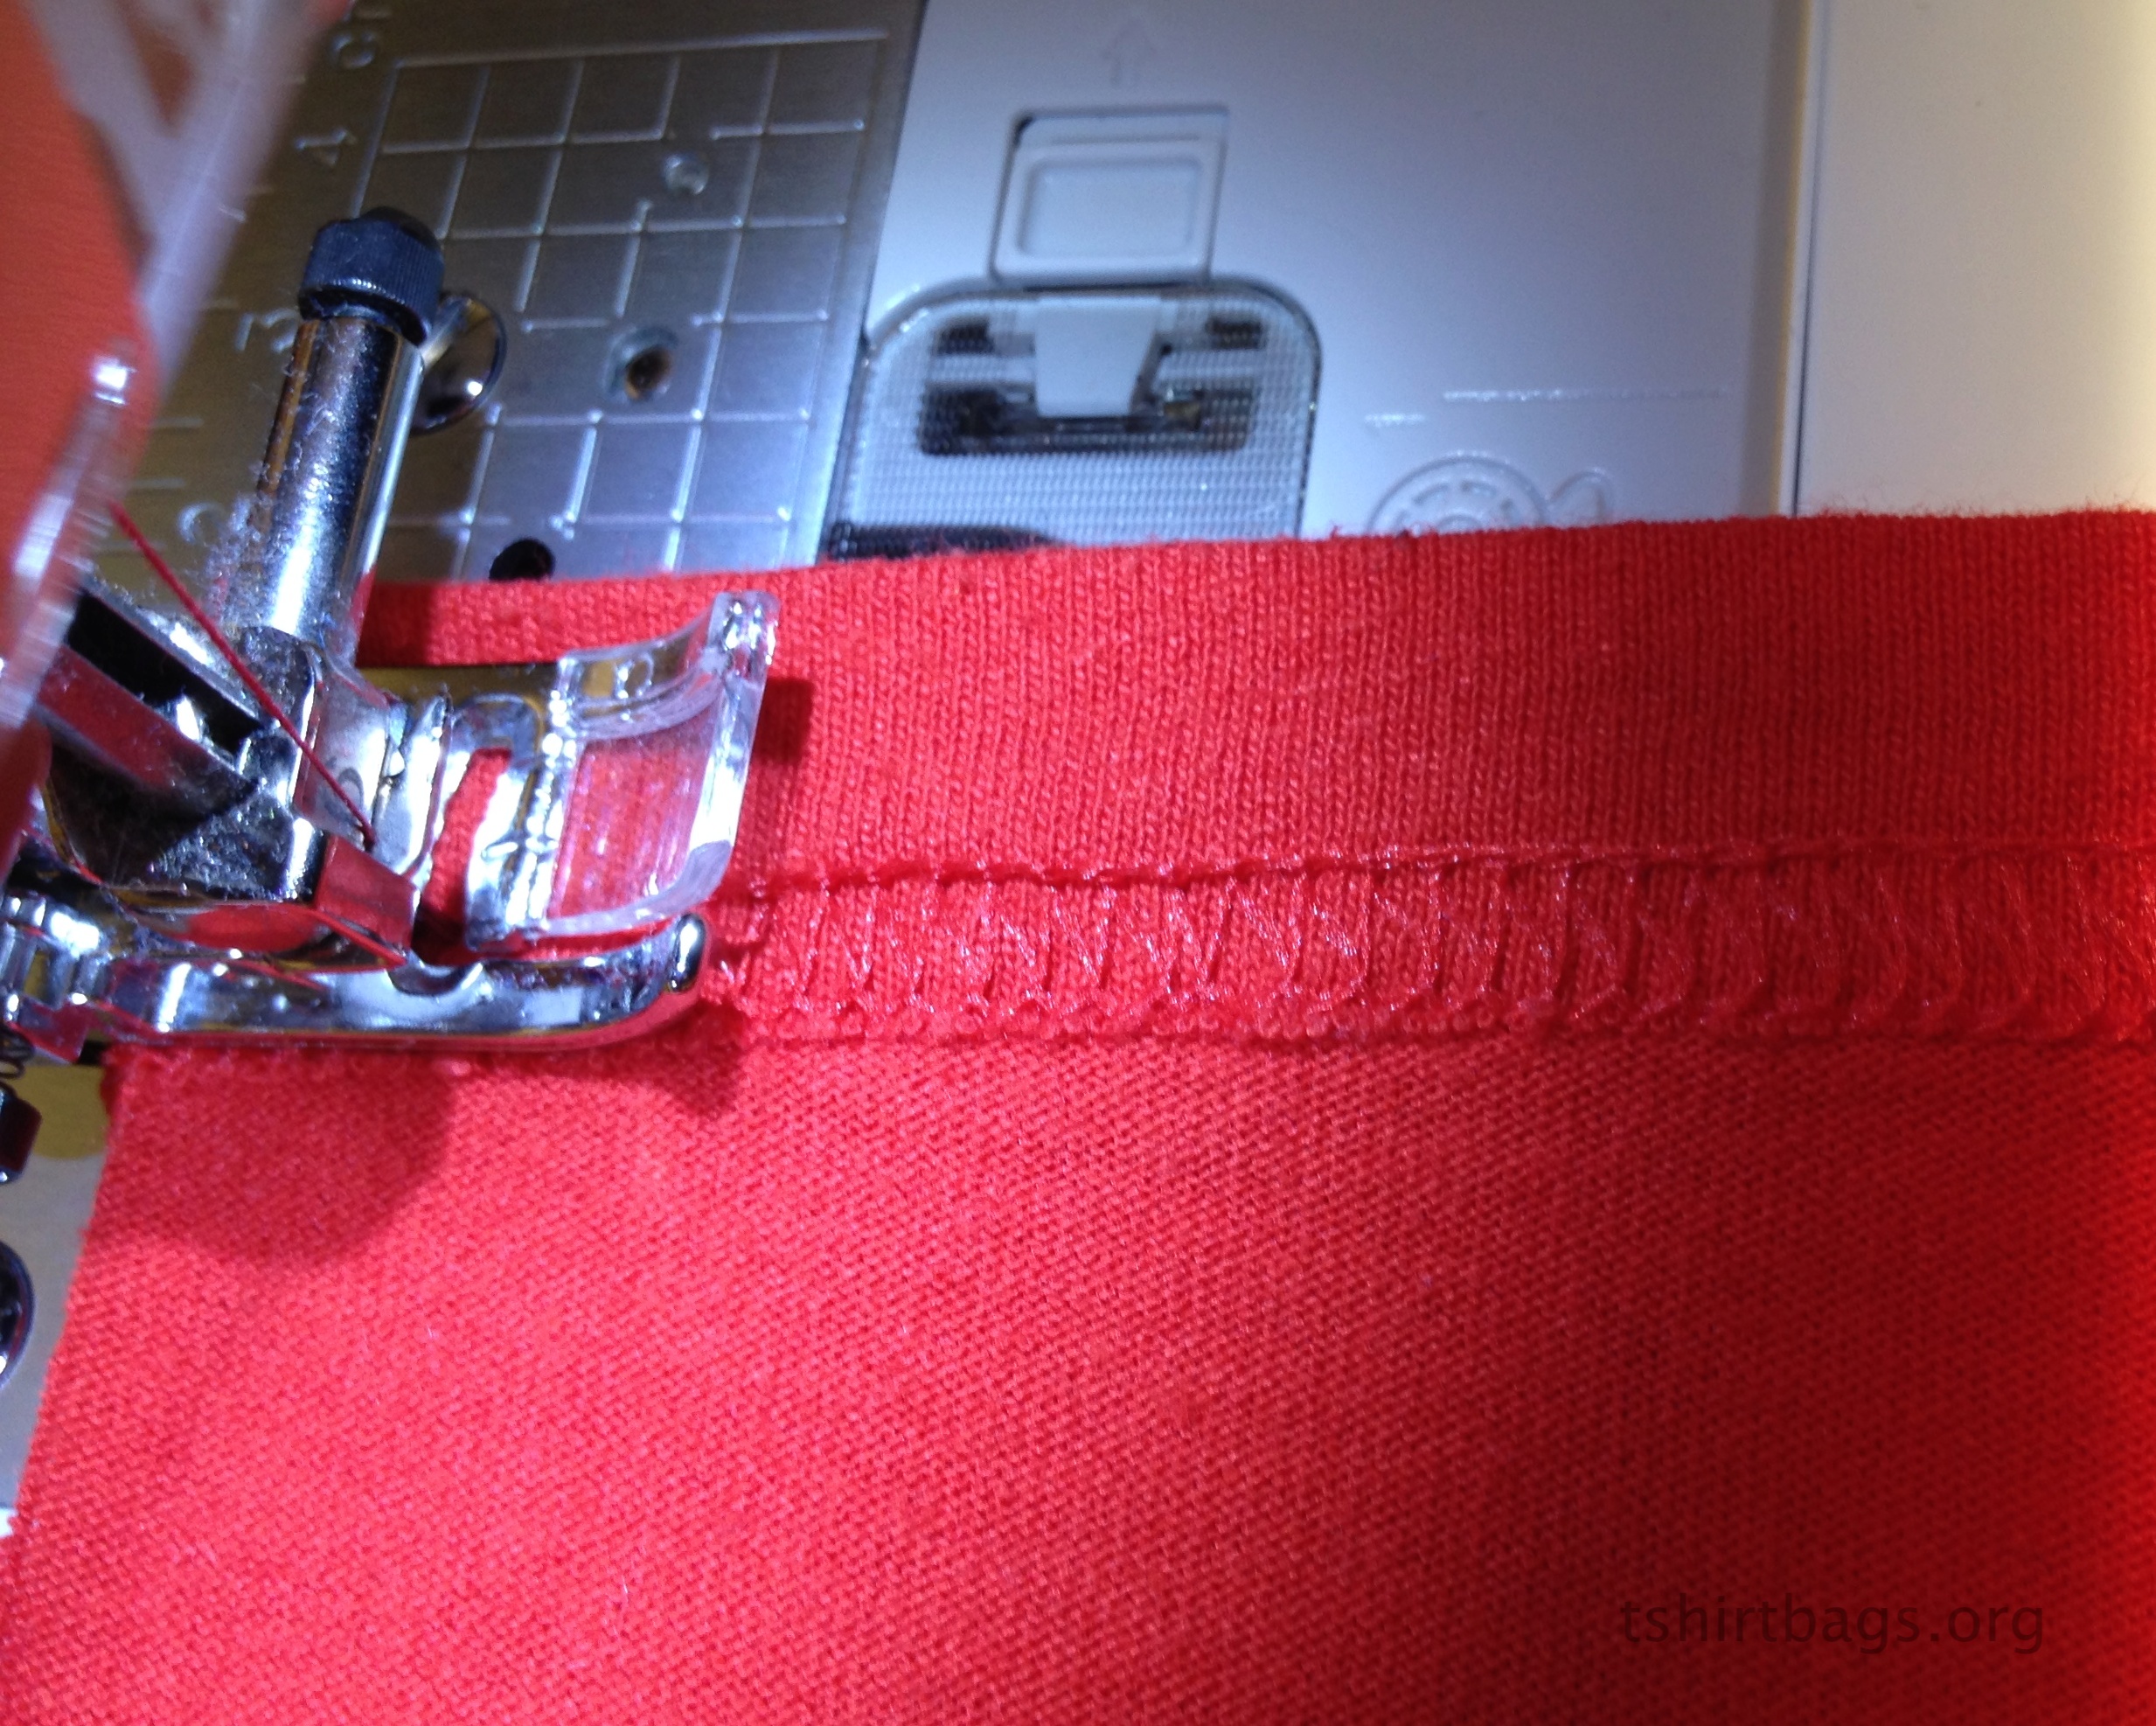
Step 5 Once both sides have been closed and the base of the bag looks complete. Turn it right-side out and ensure there are not surprise openings! (see above) I used this stitch #22 (on a Tempo, BabyLock sewing machine). Most machines of other makes have a similar stitch. It is used to secure seams.
A)
Go ahead and turn your bag inside out. Isn’t it exciting! It’s actually starting to look like a bag 🙂 Once inside out arrange the gusset under the foot so that when you start to sew you don’t inadvertently sew the side of the bag to the bottom. Sounds like I’ve got some experience with that happening.
B) 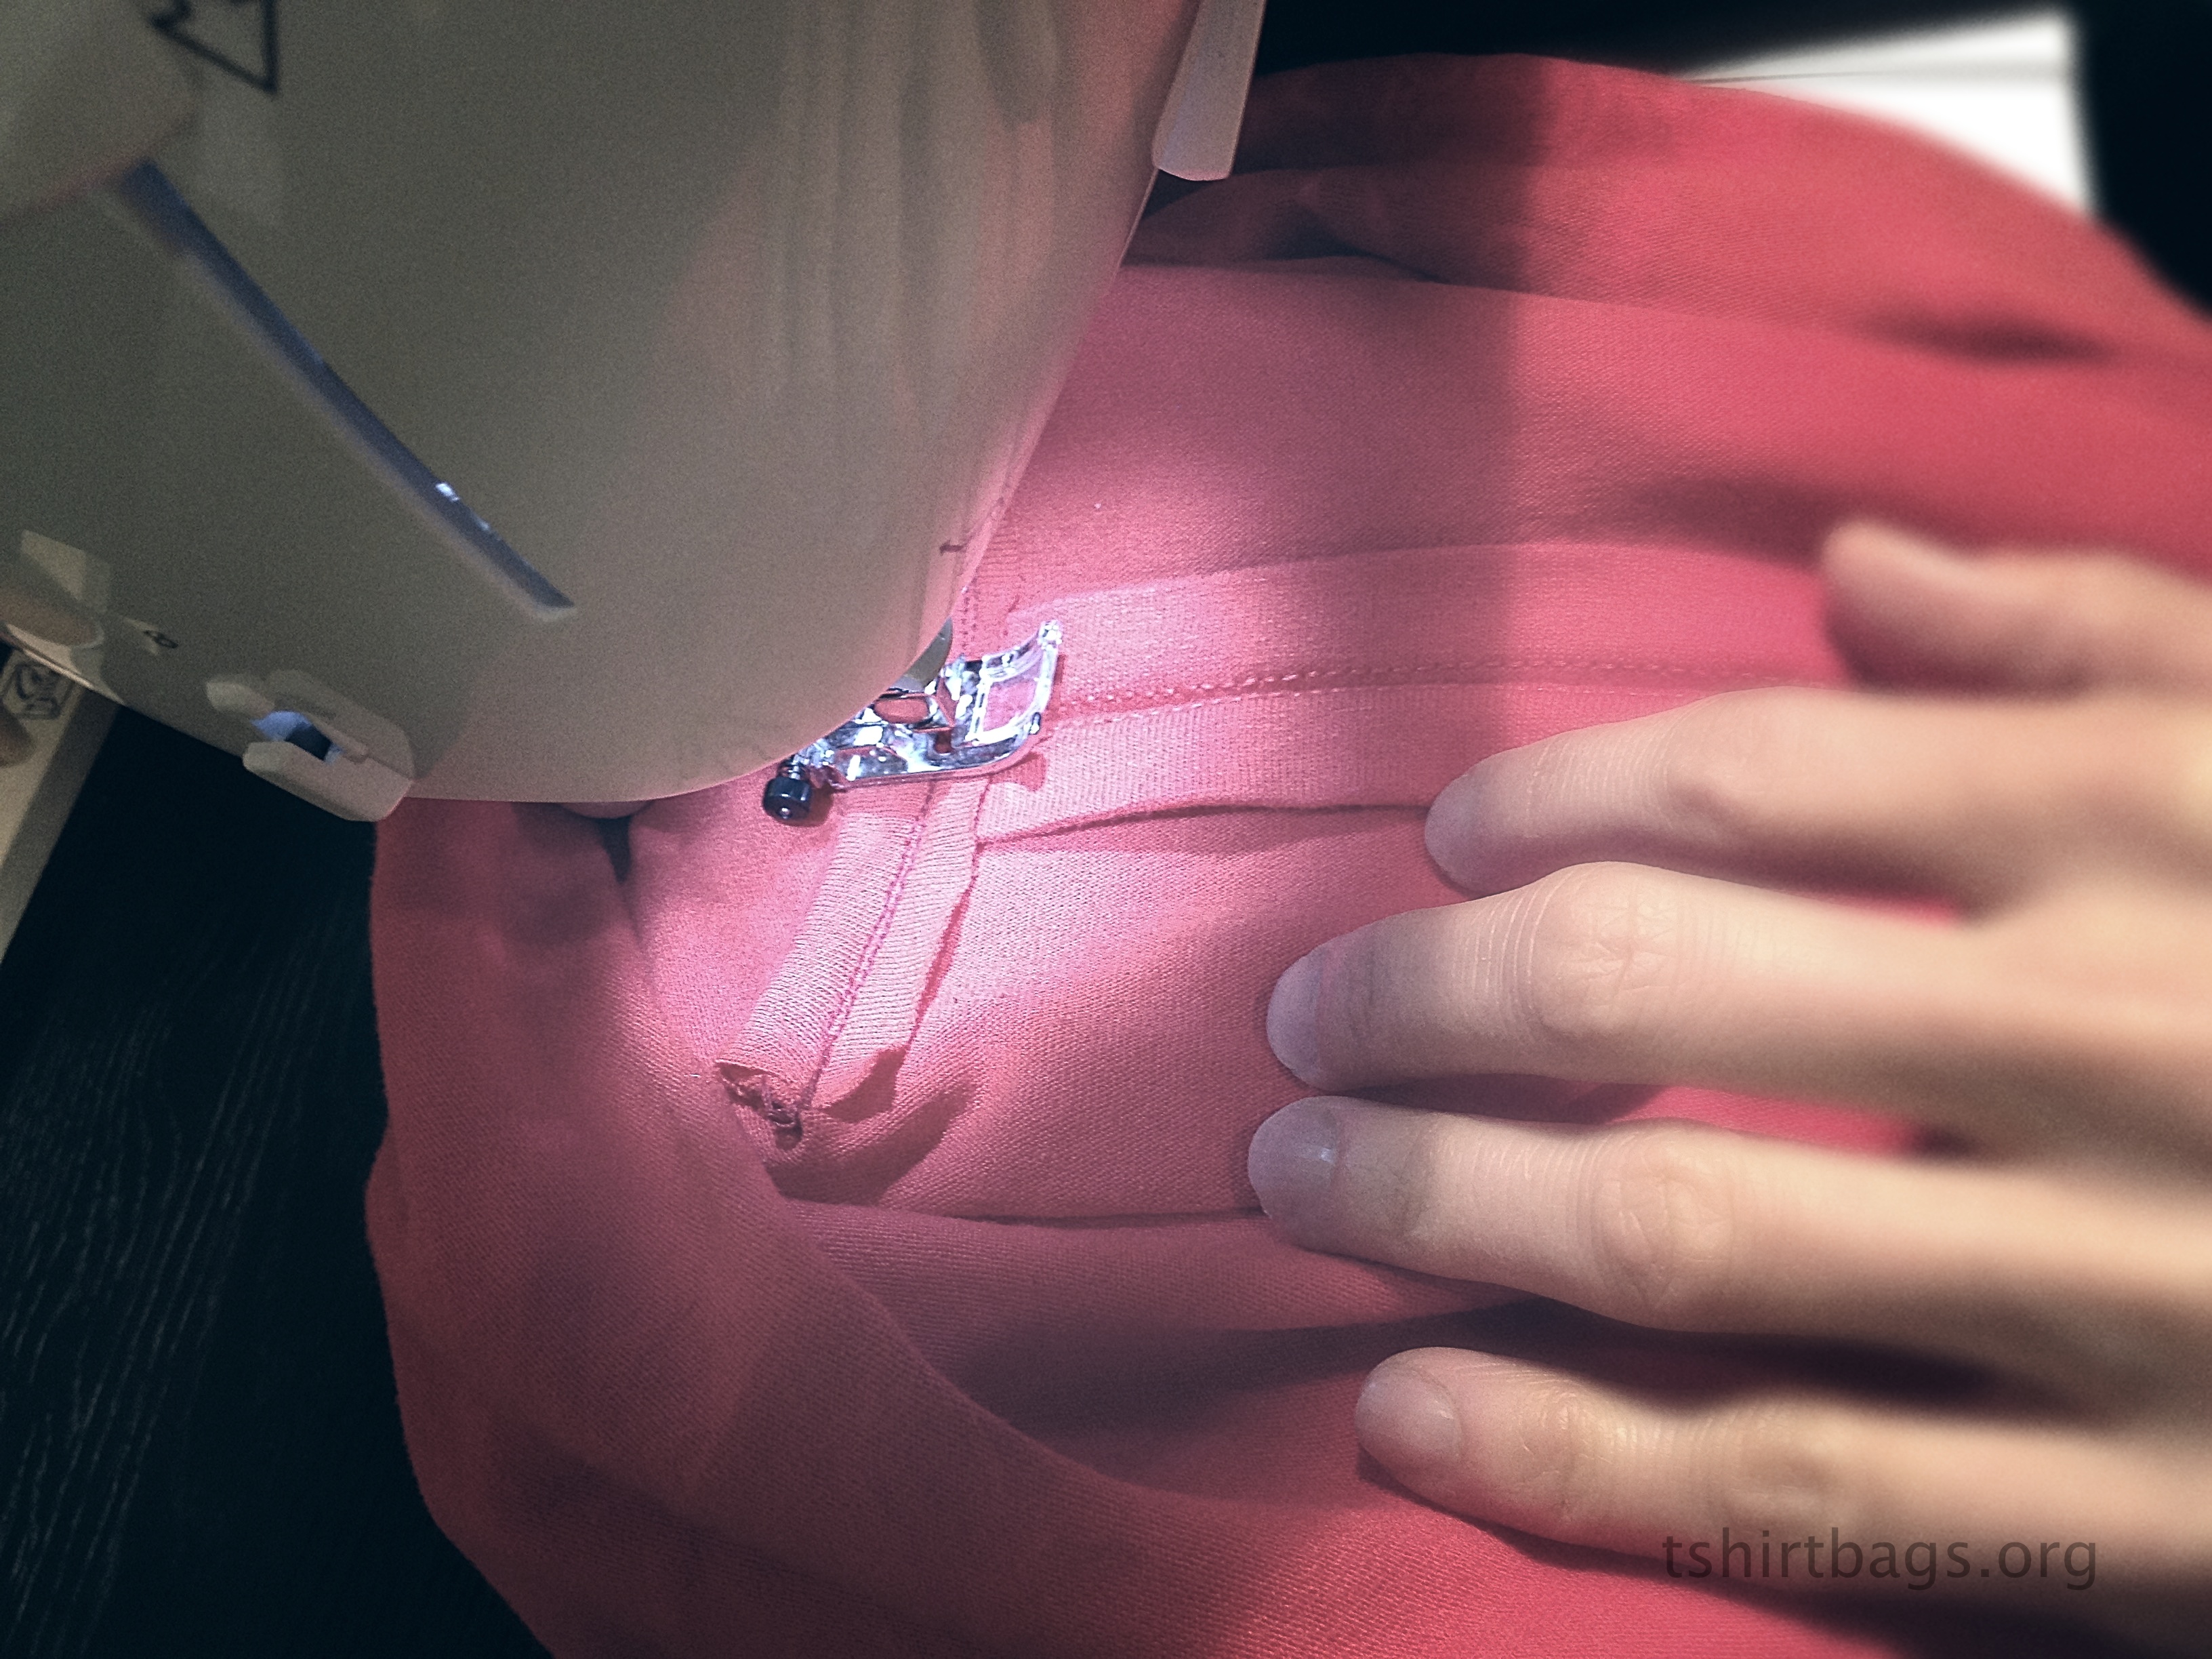 C)
C) 
Turn your bag right-side out and admire the beautiful stitching. So pretty.
D) 
Step 6 Folding Hems for Handles. The bag is now turned right-side out. Start with the neck of the bag. Fold approximately 1cm of fabric towards the right-side of the fabric. (see photo Step 6A). Then fold a second time. (see photo Step 6B).
A)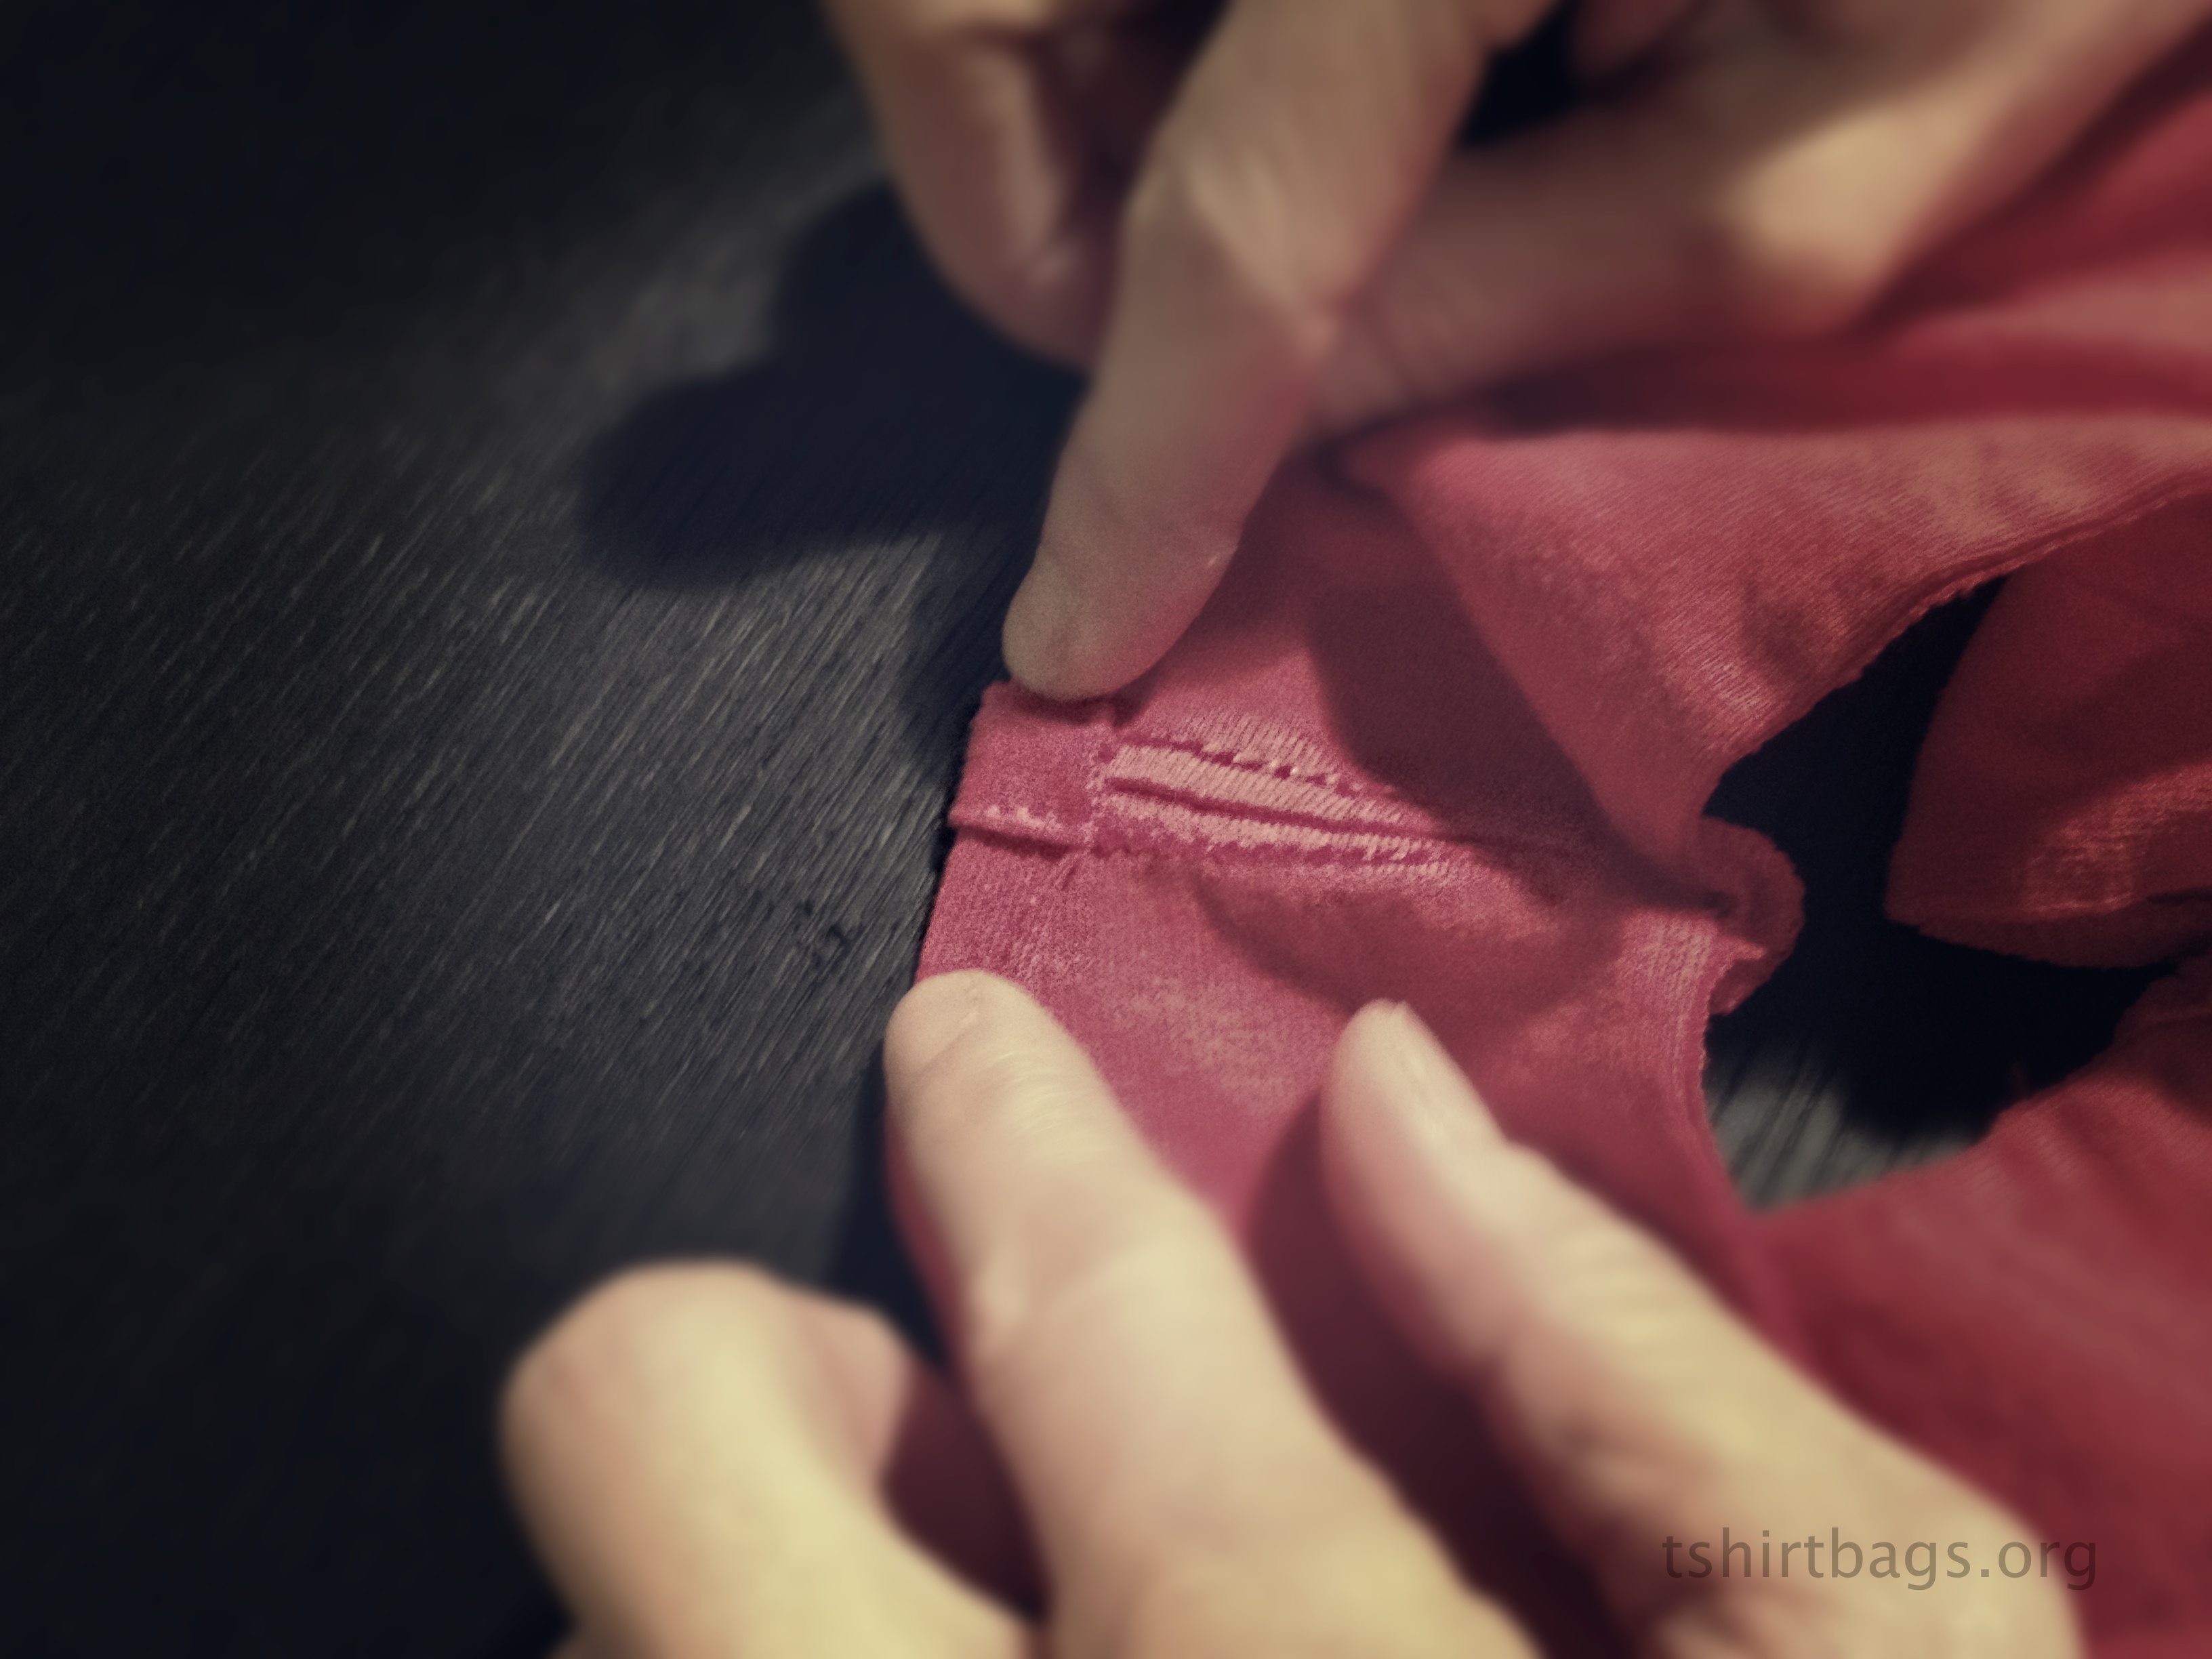 B)
B) 
Now go ahead and sew the hem. All the while folding twice as the machine is making its way around the neck of the bag. Like this, in photo (C). Photo (D) shows what the hem looks like just around the neck of the bag. Now it’s time to sew the hem where the sleeves used to be.
C)  D)
D) 
In the photo below you can see how the first hem is stitched. Photo (E) shows the first fold of the fabric for hemming the side of the handle where the sleeves used to be. Photo (F) shows the second fold of fabric for the hem.
E)  F)
F) 
Photo (G) shows where I begin stitching the hems for the handles. I go all the way around and end at the spot where I started to backstitch.
G)  Finish
And That’s It! Have fun making your very own T-Shirt bags! Give some away and teach others how to make their own. Spread the love ❤
In this segment: Photos by Falcon. Photo Editing by Falcon’s Mom.
